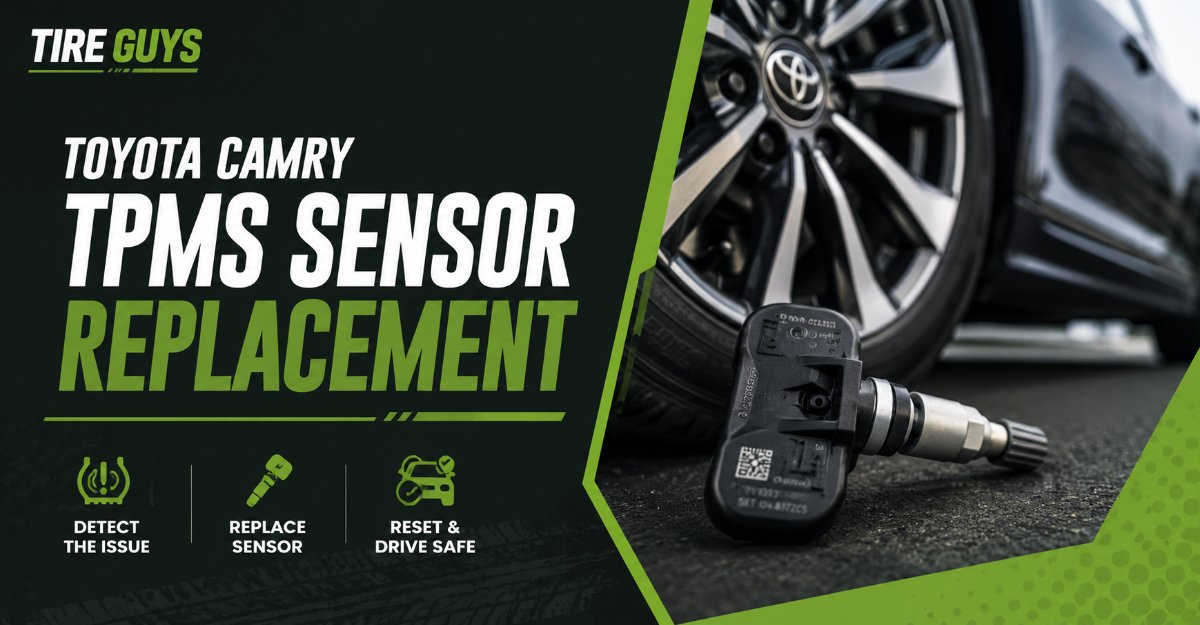
A Toyota Camry TPMS sensor replacement involves removing the tire from the wheel, extracting the dead sensor, installing a new radio frequency unit, and programming the new sensor ID into the vehicle electronic control unit. The process requires a mechanical bead breaker, an inch-pound torque wrench, and an OBD-II diagnostic programming tool.
Key Facts at a Glance
- Sensor Battery Lifespan: 5 to 10 years (typically failing between 70,000 and 100,000 miles).
- Torque Specification: 35 to 44 inch-pounds (4 to 5 Nm) for metal valve stem nuts.
- Radio Frequencies: 315 MHz for older Camry generations and 433 MHz for newer models.
- Alert Threshold: The dashboard light triggers when tire pressure drops 25 percent below the door placard recommendation.
- Average DIY Cost: $15 to $40 per sensor, excluding the initial purchase of a scan tool.
- Average Professional Cost: $70 to $150 per wheel at independent shops.
What Are the Best Replacement Sensors for a Toyota Camry?
The best replacement sensors for a Toyota Camry depend on your budget and whether you own a dedicated programming tool. You must choose between three distinct hardware categories. OEM Denso sensors offer perfect factory compatibility. Direct-fit aftermarket sensors provide budget-friendly pre-programmed operation. Universal programmable sensors allow technicians to clone existing sensor IDs.
1. Denso 550-0103 TPMS Sensor (Best Overall)
The Denso 550-0103 is the exact original equipment manufacturer part installed on the Toyota assembly line. It provides maximum reliability and guarantees zero signal dropouts.
- Frequency: 315 MHz.
- Battery Life: 8 to 10 years.
- Programming: Requires an OBD-II relearn procedure to register the new ID to the Camry ECU.
- Choose this if: You want factory reliability and plan to keep your vehicle for another decade.
- Skip this if: You are on a strict budget or lack access to an OBD-II scan tool.
2. Schrader 29093 EZ-sensor (Best for Custom Wheels)
The Schrader EZ-sensor is a premium programmable aftermarket option featuring an adjustable angle valve stem. This adjustability allows the sensor to sit flat against the barrel of aftermarket alloy wheels.
- Frequency: Dual band (315 MHz and 433 MHz).
- Battery Life: 5 to 7 years.
- Programming: Must be programmed with a compatible Schrader tool before installation.
- Choose this if: You run aftermarket wheels requiring custom stem angles.
- Skip this if: You do not have a shop to program the blank sensor chip prior to mounting.
3. Autel MX-Sensor 1-Sensor (Best for Winter Tire Sets)
The Autel MX-Sensor is a highly versatile universal option supporting both radio frequencies. It is favored by drivers who switch between summer and winter wheel sets because the sensor can clone the original Toyota IDs.
- Frequency: Dual band (315 MHz and 433 MHz).
- Battery Life: 5 to 7 years.
- Programming: Requires an Autel MaxiTPMS tool (like the TS408 or TS508) for configuration.
- Choose this if: You want to clone your factory IDs to avoid performing an OBD-II relearn every season.
- Skip this if: You are only replacing a single broken sensor and do not own an Autel scanner.
What Tools Do You Need Before Starting?
Replacing a tire pressure monitoring system sensor requires specialized mechanical and electronic equipment. Attempting this task with makeshift tools usually results in damaged sensors or scratched alloy wheels.
You will need the following items:
- Tire Changer Machine or Manual Bead Breaker: Required to push the tire rubber away from the rim lip.
- Valve Core Removal Tool: Necessary to rapidly deflate the tire.
- Inch-Pound Torque Wrench: Critical for tightening the sensor nut to exactly 35 to 44 inch-pounds.
- 11mm Deep Socket: Fits the outer collar nut on most Toyota and Denso sensors.
- TPMS Scan Tool: Essential for reading the new sensor hex ID and writing it to the vehicle computer.
- Tire Lube or Soapy Water: Needed to safely reseat the tire bead over the rim lip.
How to Perform a Toyota Camry TPMS Sensor Replacement
This procedure takes approximately 20 to 40 minutes per wheel. The most critical factor for success is recording the new 7-digit or 8-digit alphanumeric hex ID printed on the new sensor body before you mount the tire.
Step 1: Deflate the Tire and Break the Bead
Remove the wheel from the vehicle and lay it flat. Unscrew the plastic valve cap and use your valve core tool to remove the Schrader valve core. Allow all compressed air to escape.
Place the wheel on your tire changer machine. Position the bead breaker shovel exactly 180 degrees opposite the valve stem. Press the shovel down to unseat the tire bead. You must break the bead opposite the stem to ensure the machine does not crush the internal plastic sensor housing.
Step 2: Remove the Old Sensor
Locate the 11mm retaining nut on the outside of the valve stem. Use your deep socket to loosen and remove this nut. Push the valve stem inward so the entire sensor drops into the tire cavity.
Reach inside the gap between the tire and the rim to extract the old unit. Inspect the hole in the alloy wheel. Use a wire brush or emery cloth to remove any white aluminum corrosion around the valve hole to ensure the new rubber grommet will seal perfectly.
Step 3: Install the New Sensor
Insert the stem of the new sensor through the cleaned hole from the inside of the rim barrel. Place the new rubber washer and metal collar nut over the exterior stem threads.
Attach your 11mm socket to an inch-pound torque wrench. Tighten the nut strictly to 35 to 44 inch-pounds (4 to 5 Nm). Over-tightening will snap the hollow aluminum stem or crack the plastic sensor housing. Under-tightening will result in a slow air leak. Do not reuse old rubber grommets or retaining nuts.
Step 4: Seat the Tire and Balance the Wheel
Apply tire lubricant generously to the tire bead and the rim lip. Reinstall the valve core into the new sensor stem. Connect an air hose and inflate the tire until the bead pops over the safety hump and seats securely against the rim lip. Inflate to the recommended 32 to 35 PSI found on the driver door placard.
Place the assembled wheel on a spin balancer. The new sensor may have a slightly different weight than the original part. Add adhesive wheel weights as directed by the balancer to prevent highway speed vibrations. Mount the wheel back onto the vehicle and torque the lug nuts to 76 foot-pounds.
Step 5: Complete the ECU Relearn Procedure
The dashboard warning light will remain on until the vehicle computer recognizes the new sensor. Turn the vehicle ignition to the ON position without starting the engine.
Connect your TPMS scan tool to the OBD-II port located under the driver side dashboard. Follow the on-screen prompts on your specific tool to upload the new hex ID directly into the ECU memory block. Once the data transfers successfully, the dashboard light will blink for a few seconds and then turn off permanently.
How Much Does a TPMS Sensor Replacement Cost?
The cost varies wildly depending on your chosen repair method and part selection. A complete DIY replacement costs between $15 and $40 per sensor for the physical parts. However, a DIYer must factor in the one-time cost of an entry-level programming tool, which ranges from $120 to $250.
Professional independent shops charge between $70 and $150 per wheel. This fee includes the cost of an aftermarket sensor, dismounting the tire, installing the part, spin balancing the wheel, and performing the electronic relearn.
Dealerships charge the absolute highest rates. Expect to pay between $150 and $250 per wheel at a Toyota service center. Dealerships exclusively use genuine Denso parts and charge premium labor rates for the diagnostic computer hookup.
Common Mistakes and How to Fix Them
Even experienced mechanics make basic errors during sensor installations. Avoid these common pitfalls to ensure your system functions correctly.
Using Metal Valve Caps on Aluminum Stems Never screw aftermarket brass or steel valve caps onto an aluminum TPMS stem. The mixture of dissimilar metals combined with road salt and moisture creates rapid galvanic corrosion. The metal cap will chemically weld itself to the stem. Attempting to remove a fused cap will snap the valve stem completely. Always use plastic valve caps.
Neglecting the Spare Tire Toyota Camry models produced between 2007 and 2011 often feature a five-sensor system. The vehicle monitors the four active wheels plus the full-sized spare tire in the trunk. If you replace four broken sensors and the dashboard light remains solid, you must check the pressure and sensor battery in the spare tire.
Skipping the Sensor Wake-Up Step New sensors ship in a dormant sleep mode to preserve battery life on the warehouse shelf. You must use a handheld trigger tool to broadcast a low-frequency radio signal to the internal accelerometer. This wakes the sensor up so it can transmit data. Failing to wake the sensor will cause the ECU relearn procedure to fail.
Frequently Asked Questions
How long does a Toyota Camry TPMS sensor last?
The lithium-ion coin cell battery inside the sensor lasts between 5 and 10 years. Because the battery is permanently sealed inside potting compound to prevent moisture intrusion, you cannot replace the battery itself. You must replace the entire sensor unit once the internal battery depletes.
Can I drive with a broken tire pressure sensor?
Yes, you can safely drive with a broken sensor. The vehicle performance, braking, and handling remain unaffected. However, the dashboard warning light will remain illuminated continuously. You will lose the safety benefit of automatic low-pressure warnings, meaning you must manually check your tires with a physical gauge.
Why does my TPMS light flash for one minute before turning solid?
A flashing light indicates a total system malfunction rather than low tire pressure. When the light flashes for 60 seconds upon vehicle startup, the computer is signaling that it has lost communication with one or more sensors. This almost always indicates a dead sensor battery or a broken internal antenna.
Do I need to replace all four sensors at the same time?
You do not strictly need to replace all four units at once. However, because factory sensors are installed on the same day, their batteries deplete at identical rates. When one original factory sensor dies from old age, the other three will usually fail within the next six to twelve months. Replacing them simultaneously saves money on individual tire mounting and balancing fees.
What is the difference between direct and indirect tire pressure monitoring?
A direct system uses physical electronic sensors mounted inside the wheels to measure exact air pressure. An indirect system uses the anti-lock braking speed sensors to detect if a tire is rotating faster due to a smaller, deflated diameter. Every modern Toyota Camry utilizes the more accurate direct system requiring physical in-wheel sensors.
The Bottom Line Executing a Toyota Camry TPMS sensor replacement correctly restores a critical safety system on your vehicle. By selecting a high-quality Denso or premium aftermarket component, adhering strictly to the 35 to 44 inch-pound torque specifications, and properly registering the hex IDs through the OBD-II port, you ensure another decade of accurate tire pressure monitoring. Ensure you record your sensor IDs before mounting the tires to prevent frustrating diagnostic delays.