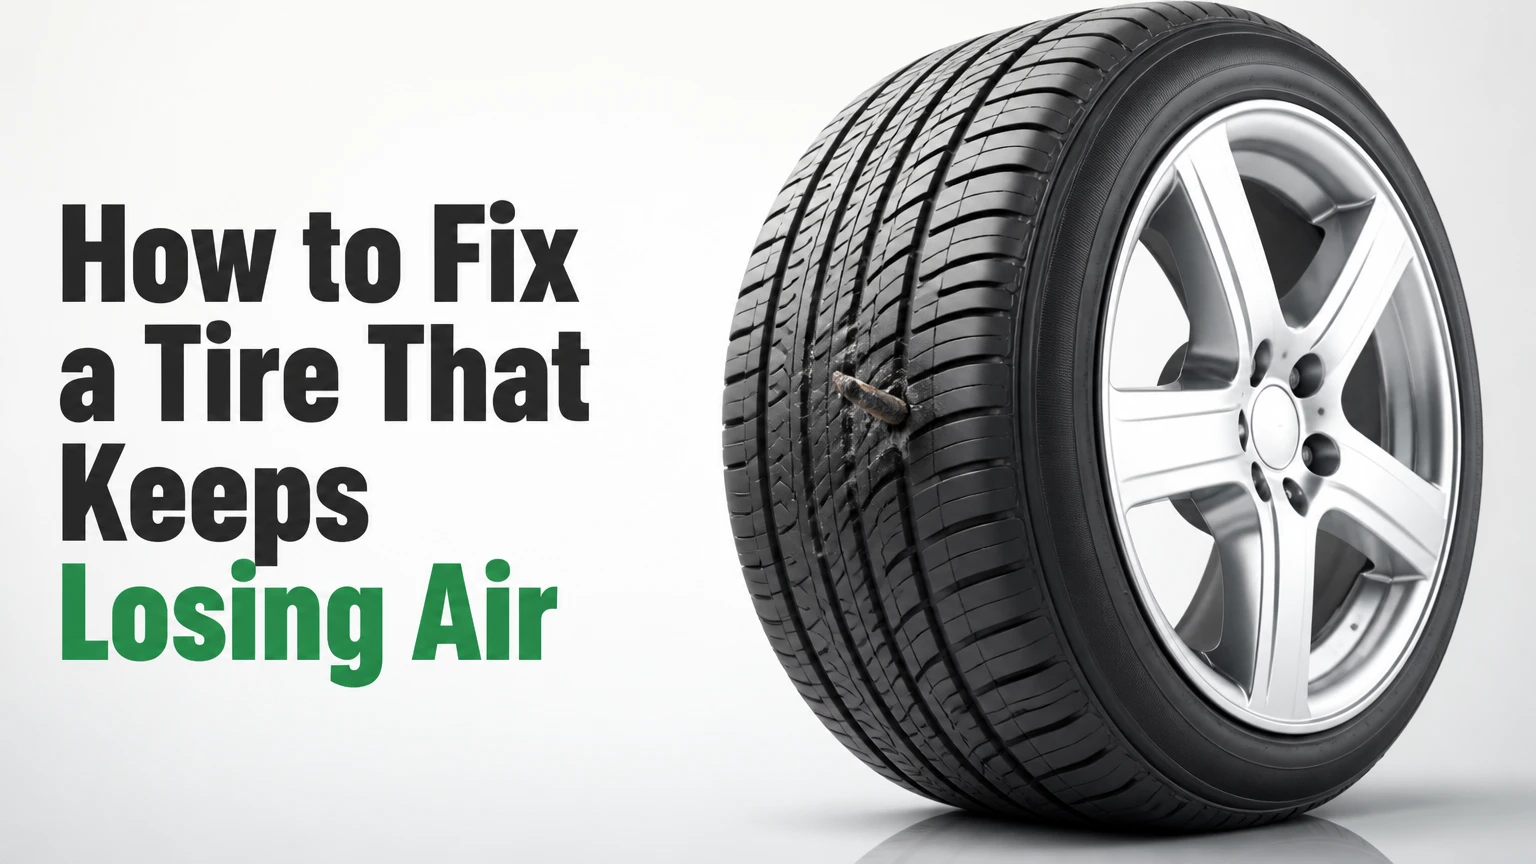
Fixing a tire that keeps losing air requires isolating the leak source across the tread, valve stem, or rim bead, then applying a site-specific repair. By performing a systematic bubble test, reaming the puncture channel, and seating a vulcanizing rubber plug or tightening the valve core, you can permanently stop slow leaks in 30 to 40 minutes for $15–$25.
Before You Start
- Estimated Time: 30–45 minutes
- Skill Level: Beginner / Intermediate
- Typical Cost: $15–$25 (Tool kit & sealant supplies)
Required Tools and Materials
- Leak Detection: 1 spray bottle, 20 mL liquid dish soap mixed with 500 mL warm water, 1 stick white chalk.
- Pressure & Air Supply: 1 calibrated digital tire gauge (0–60 PSI), 1 12V portable air compressor (40+ PSI capacity).
- Plug Repair Kit: 1 T-handle spiral reamer tool, 1 T-handle split-eye insertion tool, 2 sticky butyl rubber plug strips, 1 tube vulcanizing rubber cement (5 mL).
- Valve & Extraction Tools: 1 4-way Schrader valve core tool, 2 replacement Schrader valve cores, 1 pair needle-nose pliers, 1 utility knife or side-cutters.
- Personal Protective Equipment (PPE): 1 pair heavy-duty mechanic gloves, 1 pair ANSI-approved safety glasses.
Phase 1: Diagnostics and Leak Location
Step 1: Inspect and Isolate the Leak Source
Spray the entire inflated tire systematically with soapy water to identify the exact point of air escape through active bubble formation.
- Connect your 12V portable air compressor to the tire valve and inflate the tire to its recommended cold inflation pressure specified on the driver’s side B-pillar door placard (typically 32 to 35 PSI).
- Spray the soapy water solution generously over four distinct zones in sequence: the main tread face, the outer shoulders/sidewalls, the rubber valve stem (including the cap-less tip), and the inner/outer rim bead where the rubber meets the metal wheel.
- Observe all sprayed areas for 60 seconds. Micro-leaks produce a slow-foaming white cluster, while direct punctures produce rapid, expanding clear soap bubbles.
- Mark the exact center of any bubble cluster by drawing a 2-inch circle around it using white chalk.
Success Check: You’ll know it worked when a distinct, repeating cluster of expanding soap bubbles clearly identifies every leakage point on the tire assembly.
Common Mistake: Spraying a dirty tire and mistaking run-off foam for a leak. Wipe the tire surface clean of heavy mud or road grime before applying the solution to ensure accurate bubble tracking.
       [ Tread Area ]  --> Safe for plug repairs (Center 80% of tread)
  /-----------------------\
 /   X  X  X  X  X  X  X   \
| (O)                     (O)| --> Shoulder/Sidewall UNSAFE for plugs
|                            |
 \                          /
  \------------------------/
Step 2: Measure Puncture Size and Assess Repairability
Evaluate the chalked location and diameter of the damage to confirm it falls within safe repair standards established by the U.S. Tire Manufacturers Association (USTMA).
- Measure the distance from the outer edge of the puncture to the outer edge of the tire shoulder tread blocks using a standard rule.
- Verify that the hole is located entirely within the crown (the center 80% of the tread area).
- Measure the maximum diameter of the puncturing object or hole. Punctures larger than 1/4 inch (6 mm), elongated tears, or any puncture touching the shoulder or sidewall cannot be safely plugged.
Success Check: You’ll know it worked when you confirm the puncture is under 1/4 inch (6 mm) in diameter and sits strictly within the center tread zone.
Common Mistake: Attempting to plug a sidewall or shoulder puncture. The high flex rate of tire sidewalls causes plug failure, heat buildup, and catastrophic tire blowout. Replace the tire if the damage is outside the center tread.
Phase 2: Puncture Hole Preparation and Plug Insertion
Step 3: Extract Object and Ream the Puncture Channel
Remove the foreign object and clean the steel belts inside the puncture channel to prepare the rubber for chemical bonding.
- Grip the head of the puncturing object (nail or screw) securely with needle-nose pliers and pull it straight out, noting the exact entry angle relative to the tread surface.
- Immediately insert the tip of the T-handle spiral reamer directly into the open puncture hole at that identical entry angle.
- Push and pull the reamer up and down through the hole 3 to 5 times while twisting the handle clockwise to clear severed steel belt wire fragments and roughen the inner rubber walls.
- Leave the reamer tool seated fully inside the hole to minimize pressure loss while you load the plug tool.
Success Check: You’ll know it worked when the reamer moves through the puncture channel with firm, uniform resistance and air escape is temporarily slowed by the inserted tool shaft.
Common Mistake: Forcing the reamer into the tire at a 90-degree angle when the nail entered at a 45-degree slant. Creating a secondary puncture path ruins the tire carcass and guarantees a permanent leak.
Step 4: Thread, Coat, and Load the Vulcanizing Plug
Prepare the butyl rubber strip in the eyelet of the insertion tool with chemical rubber cement.
- Peel one sticky butyl rubber plug strip from its protective plastic backing sheet using gloved fingers.
- Squeeze the flattened end of the plug strip through the split-eye opening at the tip of the T-handle insertion tool until exactly half of the strip extends out each side (approx. 2.5 inches per side).
- Apply a uniform 1 to 2 mL coating of vulcanizing rubber cement over the centered rubber strip and the tip of the insertion needle.
Success Check: You’ll know it worked when the plug strip rests securely, centered in the needle eyelet, fully coated in wet vulcanizing cement.
Common Mistake: Touching the sticky surface of the repair strip with bare, greasy hands. Skin oils contaminate the raw butyl rubber and prevent proper vulcanization with the tire compounds.
Step 5: Drive and Release the Plug Strip
Insert the loaded needle tool into the prepared puncture channel and disengage it without twisting.
- Grasp the T-handle reamer firmly and pull it straight out of the puncture hole in one fluid movement.
- Immediately place the tip of the loaded insertion tool over the hole at the original entry angle.
- Push the T-handle downward with steady, heavy palm pressure until the rubber strip folds double and enters the tire, leaving precisely 1/2 inch (13 mm) of the loop ends visible above the tread blocks.
- Pull the T-handle straight up and out of the tire with a single, fast, forceful jerk. Do not twist or rotate the handle at any point during insertion or removal.
Success Check: You’ll know it worked when the insertion needle slides out cleanly while leaving the double-stranded rubber plug locked securely inside the tread channel with 1/2 inch of material protruding.
Common Mistake: Twisting the insertion tool handle while pulling it out. Rotating the tool cuts the thin butyl rubber loop inside the tire carcass, causing the plug to collapse and drop into the air chamber.
      T-Handle Insertion
           [==]
            ||
            ||
    ======/    \======  <-- Tread Surface
         |  /\  |
         | |||| |       <-- Plug folded in half
         | |||| |
    ======\____/======  <-- Inner Liner
Step 6: Trim, Pressure-Test, and Verify Seal
Flush-cut the external plug tails, equalize internal pressure, and complete a final chemical leak check.
- Allow the rubber cement to cure undisturbed for 5 minutes at ambient temperature.
- Trim the protruding rubber plug tails flush with the surrounding tread surface using a sharp utility knife or side-cutters, taking care not to gouge the tread rubber.
- Attach the portable air compressor and inflate the tire to its full door-placard specification (e.g., 35 PSI).
- Spray the trimmed plug repair area with soapy water and monitor for 2 full minutes to confirm zero bubble generation.
Success Check: You’ll know it worked when the trimmed plug remains static under full pressure and zero soap bubbles form over a 2-minute test window.
Common Mistake: Trimming the plug material too short by pulling upward on the tails while cutting. This stretches the rubber below the tread surface, leaving a pocket that collects road debris and fails under load.
Phase 3: Valve Stem and Rim Bead Maintenance
If the tread area shows no bubbles during Step 1, the leak originates from either the valve system or the wheel rim seal.
Step 7: Tighten or Replace the Schrader Valve Core
Fix air loss originating from the center opening of the valve stem tip.
- Spray soapy water directly into the open tip of the brass valve stem; if a single bubble inflates out of the center core pin, the core is loose or damaged.
- Insert the notched tip of a 4-way valve tool over the internal valve core pin until it seats into the slots.
- Turn the tool clockwise until you feel firm resistance to snug a loose core.
- If bubbling continues, turn the core counterclockwise to unthread and remove it completely. Screw a new replacement Schrader valve core in clockwise until hand-tight, then reinflate the tire.
Success Check: You’ll know it worked when the soapy water inside the valve tip remains perfectly flat without forming expanding micro-bubbles.
Step 8: Clean and Seal Rim Bead Corrosion
Fix perimeter leaks caused by oxidation buildup between the tire bead and aluminum alloy wheels.
- If bubbles form continuously along the metal edge of the wheel rim, deflate the tire completely by removing the valve core.
- Use a bead-breaker tool or heavy C-clamp to push the tire bead downward away from the wheel flange on the affected side.
- Scrub the exposed inner lip of the metal rim using a wire brush to scrub away chalky aluminum oxide, rust, and dirt.
- Brush a thick, even layer of black bead sealant compound along the scrubbed rim lip, reseat the tire bead, install the valve core, and rapidly inflate the tire to pop the bead back into position.
Common Mistakes and How to Fix Them
- Plugging a Puncture That Is Too Large: Inserting a standard 1/4-inch plug into a 3/8-inch hole results in immediate pressure loss. Fix: Extract the failed plug and take the wheel to a certified tire shop for a combination internal patch-plug installed from the inside out, or replace the tire.
- Failing to Match the Insertion Angle: Driving the reamer straight down across an angled nail path creates two intersecting holes. Fix: Dismount the tire from the rim and install a vulcanized internal repair patch that covers both damaged internal carcass pathways.
- Driving on an Underinflated Plugged Tire: Running a freshly plugged tire at low pressure generates excess heat that degrades the rubber cement before it fully cures. Fix: Always inflate the tire to full specification with a compressor before putting weight back on the wheel.
- Ignoring a Corroded Valve Stem Base: Replacing the internal core when the outer rubber valve stem is dry-rotted and cracking at the wheel hole. Fix: Bend the rubber valve stem side to side while spraying soapy water at its base. If bubbles appear at the rubber-to-metal interface, the tire must be unmounted to pull a new valve stem through the rim.
Process Variations
On-Vehicle Repair vs. Off-Vehicle Wheel Removal
- On-Vehicle (Emergency Side): You can plug a tread puncture without removing the wheel if the damage is on the front tires (turn the steering wheel fully outward for clearance) or easily accessible on the rear. Ensure the vehicle is parked on level ground with the parking brake set and wheel chocks engaged.
- Off-Vehicle (Standard Workshop): Loosen lug nuts 1/2 turn, jack up the vehicle, place it on jack stands, and remove the wheel entirely. This provides optimal visibility, precise entry-angle matching, and easier physical levering during tool insertion.
Temporary Roadside Plug vs. Permanent USTMA Internal Repair
- External Plug (Emergency/Field Standard): The method outlined above seals the leak from the outside. It is effective for emergency use and off-road recovery.
- USTMA Permanent Standard: Rubber industry guidelines require removing the tire from the rim, inspecting the inner liner for structural damage, reaming the hole, and installing a one-piece internal stem-patch combination. Use an external plug as an immediate fix, then have a certified technician perform an internal inspection at your earliest convenience.
How Long Does It Take and What Does It Cost?
| Repair Option | Total Time | Tools & Parts Required | Total Estimated Cost |
| DIY External Plug (Tread) | 20–30 Minutes | Plug kit, soapy water, 12V compressor | $15 – $25 total |
| DIY Valve Core Replacement | 5–10 Minutes | 4-way valve tool, new Schrader core | $5 – $8 total |
| Professional Internal Patch/Plug | 45–60 Minutes | Commercial tire changer, internal patch | $30 – $50 total |
| Complete Tire Replacement | 30–60 Minutes | New tire, mounting & balancing service | $100 – $300+ per tire |
Frequently Asked Questions
Can I fix a tire that keeps losing air without taking it off the car?
Yes. If the leak is located on the main tread face and accessible, you can inflate the tire, roll the vehicle to expose the puncture, and perform a plug repair directly on the car. Front tires can be turned outward for better working access.
How long will a tire plug last once installed correctly?
A properly installed vulcanizing rubber plug can last for the remaining life of the tread (up to 20,000–40,000 miles). However, industry guidelines recommend using external plugs as temporary repairs until a full internal patch inspection can be performed.
Why is my tire still losing air after being plugged?
Air loss after plugging occurs if the entry angle was missed during reaming, the plug was twisted during insertion, or a secondary leak exists at the valve stem or rim bead. Re-test the entire assembly with soapy water to locate unsealed areas.
Is tire sealant spray better than using a manual plug kit?
No. Aerosol tire sealants provide only short-term emergency sealing, can ruin internal direct TPMS sensors, and create a messy residue inside the tire carcass. A manual plug kit provides a mechanical, vulcanized seal without damaging tire pressure sensors.
How do I know if my tire leak is caused by a damaged rim?
Spray soapy water along the inner and outer metal edges where the rubber meets the wheel. If continuous foam or bubbles appear along the metal seam without any tread punctures, oxidation or a bent wheel flange is causing the air loss.