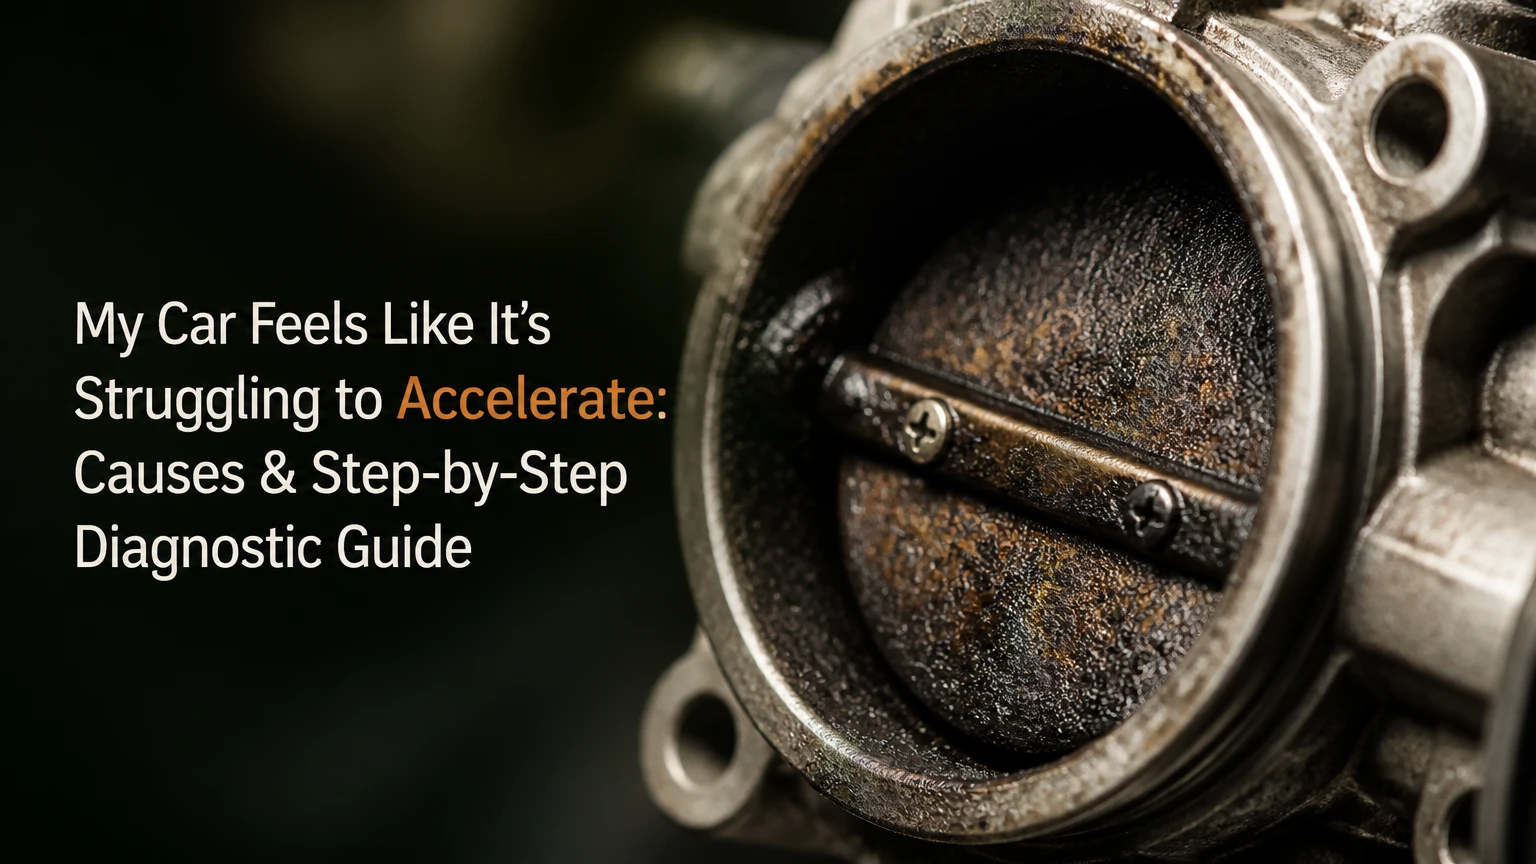
When a car struggles to accelerate, it is suffering from engine power loss, hesitation, or transmission slippage caused by an imbalance in the air, fuel, spark, compression, or exhaust delivery systems. The engine fails to efficiently convert chemical fuel into mechanical torque when you depress the gas pedal. Troubleshooting requires systematic isolation of air intake restrictions, fuel pressure drops, ignition misfires, or exhaust backpressure using OBD-II diagnostics and physical testing.
+-----------------------------------------------------------------------------------+
|                            DIAGNOSTIC WORKFLOW AT A GLANCE                        |
+-----------------------------------------------------------------------------------+
|                                                                                   |
|  [Step 1] Scan OBD-II Port ---------> Check Active/Pending Fault Codes           |
|                                       (P0171 Lean, P0300 Misfire, P0420 Cat)      |
|                                                                                   |
|  [Step 2] Inspect Air Intake -------> Visual light check on Air Filter;           |
|                                       clean Mass Air Flow (MAF) sensor wire       |
|                                                                                   |
|  [Step 3] Test Fuel Delivery -------> Verify static/dynamic Fuel Pressure          |
|                                       (30-60 PSI Port / 500-2000+ PSI Direct)     |
|                                                                                   |
|  [Step 4] Inspect Ignition System --> Pull Spark Plugs; check gap (0.028-0.050");|
|                                       test Ignition Coil resistance               |
|                                                                                   |
|  [Step 5] Measure Backpressure -----> Vacuum Gauge test at idle/2500 RPM;          |
|                                       verify Exhaust/Catalytic Converter flow     |
|                                                                                   |
+-----------------------------------------------------------------------------------+
At a Glance: Key Engine Acceleration Facts
- Core Cause: Engine power loss occurs when the internal combustion process deviates from the ideal stoichiometric air-fuel ratio ($14.7:1$), loses ignition spark energy, or encounters mechanical exhaust restrictions.
- First Step: Always scan the Engine Control Unit (ECU) for diagnostic trouble codes (DTCs) before buying parts; a flashing Check Engine Light signals active misfires that destroy catalytic converters.
- Most Common DIY Culprit: A dirty Mass Air Flow (MAF) sensor or clogged engine air filter accounts for roughly 30% of sudden throttle hesitation cases and costs under $20 to clean or fix.
- Critical Pressure Thresholds: Standard fuel rail pressure for port-injected engines must read between $30\text{ PSI}$ and $60\text{ PSI}$, while exhaust backpressure before the catalytic converter must remain below $1.25\text{ PSI}$ at $2,000\text{ RPM}$.
- Transmission vs. Engine: If engine RPM spikes upward without a corresponding increase in vehicle speed, the issue is transmission slip or a worn clutch—not an engine fuel/air delivery fault.
How Does Engine Acceleration Work?
To accelerate a motor vehicle, the engine must rapidly increase its power output by scaling the internal combustion process in precise proportion to accelerator pedal movement. Pressing the gas pedal rotates the throttle body plate open, drawing atmospheric air through the air filter and intake tract. The Mass Air Flow (MAF) sensor or Manifold Absolute Pressure (MAP) sensor measures this incoming air volume and density, reporting data to the Engine Control Unit (ECU).
+-----------------------------------------------------------------------------------+
|                        THE AIR-FUEL-SPARK POWER LOOP                              |
+-----------------------------------------------------------------------------------+
|                                                                                   |
|  [Gas Pedal Pressed]                                                              |
|          |                                                                        |
|          v                                                                        |
|  [Throttle Plate Opens] ---> [MAF / MAP Sensor Measures Air Mass]                 |
|                                                |                                  |
|                                                v                                  |
|  [Spark Plug Ignites] <--- [ECU Triggers Fuel Injectors (14.7:1 Ratio)]           |
|          |                                                                        |
|          v                                                                        |
|  [Combustion Forces Piston Down] ---> [Exhaust Expelled Through Catalytic Converter]|
|                                                                                   |
+-----------------------------------------------------------------------------------+
Upon receiving airflow data, the ECU actuates the fuel injectors to spray a proportional mass of fuel, targeting a stoichiometric ratio of $14.7\text{ parts air to }1\text{ part fuel}$ for gasoline engines. The ignition coils supply high voltage (typically $20,000\text{ to }50,000\text{ volts}$) to the spark plugs, igniting the compressed air-fuel mixture inside the cylinder. The resulting expansion forces the piston downward, turning the crankshaft, flywheel, transmission, and drive wheels. Finally, spent exhaust gases pass unhindered through the exhaust manifold, catalytic converter, and muffler. A failure or bottleneck in any stage of this intake, fuel, ignition, compression, or exhaust loop starves the engine of energy, causing severe acceleration delay.
Step-by-Step Diagnostic Sequence for Acceleration Power Loss
Follow this structured flow to pinpoint why your vehicle is struggling to accelerate.
Before You Start
- Diagnostic Time: 45–90 minutes
- Difficulty Level: Beginner to Intermediate
- Estimated Cost: $0–$35 (for basic diagnostic supplies)
- Required Tools & Materials:
- OBD-II Code Scanner
- MAF Sensor Cleaner Spray (Do NOT use brake cleaner)
- Fuel Pressure Gauge with Schrader Valve Adapter
- Spark Plug Socket, Socket Wrench, and Feeler/Gap Gauge
- Automotive Vacuum Gauge
- Digital Multimeter (DMM)
- Safety Glasses and Mechanics Gloves
1.Scan the Engine Control Unit (ECU) for Fault Codes:Prerequisite step before inspecting or purchasing any mechanical components.
Plug your OBD-II scanner into the 16-pin Diagnostic Link Connector (DLC) located beneath the driver-side dashboard. Turn the ignition key to the “ON” position without starting the engine, and execute a full system scan.
- Action: Document all active, pending, and history Diagnostic Trouble Codes (DTCs). Pay immediate attention to:
- P0101 / P0102: MAF sensor circuit performance or low input.
- P0171 / P0174: Engine system running lean (too much air, not enough fuel).
- P0300 – P0308: Random/Multiple or cylinder-specific engine misfires.
- P0420 / P0430: Catalytic converter system efficiency below threshold.
- Success Checkpoint: You have clear fault codes directing you to a specific subsystem (e.g., ignition vs. fuel), or you have confirmed a “No Code” condition, indicating a mechanical/fuel pressure fault that the ECU cannot electronically monitor.
- Common Mistake: Clearing the fault codes before writing down freeze-frame data. Freeze-frame data captures engine speed, temperature, and fuel trims at the exact moment the failure occurred.
2.Inspect the Air Intake System and Clean the MAF Sensor:Rule out primary airflow restrictions and sensor signal corruption.
Unclip the air filter housing box and pull out the engine air filter element. Hold the filter up to a bright light source or the sun.
- Action: If light cannot pass through the paper pleats, or if heavy debris, leaves, or oil contamination are present, replace the filter. Next, locate the Mass Air Flow (MAF) sensor housed in the intake pipe downstream of the air filter. Remove its electrical connector and retention screws. Spray the internal delicate hot wires thoroughly with 10–15 squirts of dedicated MAF Sensor Cleaner.
- Success Checkpoint: The MAF sensor wire appears bright silver without dark varnish coating, and the air filter housing is free of obstructions. Allow the sensor to dry completely for 10 minutes before reinstalling.
- Common Mistake: Touching the sensitive MAF sensor wires with fingers, tools, or shop rags, or spraying them with harsh solvents like carb or brake cleaner, which destroys the delicate sensing element.
3.Test Static and Dynamic Fuel Pressure:Verify that the fuel pump and pressure regulator meet OEM factory volume standards.
Locate the fuel rail on top of the engine intake manifold. Locate the Schrader valve test port (similar in appearance to a tire valve). Thread the hose coupler of your fuel pressure gauge securely onto the port.
Standard Port Fuel Injection (PFI) Pressure Range:  30 PSI to 60 PSI
Direct Injection (GDI) Low-Pressure Feed Range:    45 PSI to 75 PSI
Direct Injection (GDI) High-Pressure Rail Range:   500 PSI to 3,000+ PSI
- Action: Turn the ignition key to “ON” to prime the fuel pump. Record the static pressure reading. Start the engine and note idling pressure. Have an assistant depress the accelerator pedal briefly to $2,500\text{ RPM}$; fuel pressure should hold steady or increase slightly ($3{-}5\text{ PSI}$). If pressure drops significantly during acceleration, the fuel filter is clogged or the fuel pump is failing.
- Success Checkpoint: Fuel pressure matches factory specifications (typically $35{-}55\text{ PSI}$ for port injection) under both idle and rapid throttle opening conditions.
- Common Mistake: Assuming a fuel pump is good because it buzzes when priming. A pump can run electronically while failing to deliver adequate dynamic volume or volume under load.
4.Inspect Spark Plugs and Test Ignition Coil Resistance:Identify electrical misfires, improper electrode gaps, and fouled plugs.
Disconnect the electrical harness from the ignition coils, remove the retaining bolts, and pull the coil packs out of the spark plug wells. Use a dedicated spark plug socket to unthread the spark plugs.
- Action: Inspect the firing tip of each spark plug. Healthy plugs exhibit light tan or grey deposits. Black dry soot indicates a rich condition; wet fuel indicates a complete misfire; white blistered electrodes indicate severe overheating or lean mixture. Use a wire gap gauge to measure electrode gap against vehicle specs (typically $0.028\text{ to }0.050\text{ inches}$). Measure ignition coil primary/secondary resistance using a multimeter set to Ohms ($\Omega$).
- Success Checkpoint: Plugs have clean electrodes, uniform coloration, correct gap spacing, and coil resistance falls within specified factory tolerances (typically $0.5{-}2.0\space\Omega$ primary side).
- Common Mistake: Over-tightening new spark plugs into aluminum cylinder heads without a torque wrench, causing thread stripping or cracked porcelain insulators.
5.Measure Exhaust Backpressure and Test Catalytic Converter Flow:Confirm unrestricted removal of combustion gases through the exhaust system.
Engine acceleration requires an unrestricted exhaust path. A melted or collapsed catalytic converter substrate acts as a plug, trapping high-pressure exhaust gas inside the cylinders and stopping fresh air intake.
- Action: Perform a vacuum gauge test first. Connect a vacuum gauge to a direct intake manifold port. A healthy engine pulls $18\text{ to }22\text{ in. Hg}$ (inches of mercury) at idle. Raise and hold engine speed at $2,500\text{ RPM}$. The gauge reading may drop momentarily, but it should quickly return to or exceed the idle baseline. If the vacuum reading steadily drops toward zero as RPM is held, the exhaust is restricted. To confirm, remove the upstream ($O_2$) oxygen sensor and thread an exhaust backpressure gauge into the port.
- Success Checkpoint: Backpressure before the catalytic converter measures less than $0.5\text{ PSI}$ at idle and no more than $1.25\text{ PSI}$ at $2,000\text{ RPM}$.
- Common Mistake: Replacing oxygen sensors or throttle bodies when the actual underlying fault is a mechanically melted internal catalytic converter monolith.
Causes of Poor Acceleration: Systems, Costs, and Specs
| System / Component | Primary Failure Mode | Key Specification / Threshold | Est. Repair Cost (USD) | Est. Labor Time |
| Air Intake System | Clogged Air Filter / Dirty MAF / Intake Boot Leak | Vacuum leak $> \pm 10\%$ Long-Term Fuel Trim (LTFT) | $20 – $200 | 0.25 – 0.5 Hours |
| Fuel Delivery System | Failing Fuel Pump / Clogged Fuel Filter / Stuck Injector | Rail pressure drop $> 5\text{ PSI}$ under load conditions | $150 – $950 | 1.0 – 3.0 Hours |
| Ignition System | Worn Spark Plugs / Failed Coil-on-Plug (COP) / Arc Leaks | Resistance outside $0.5 – 2.0\space\Omega$ (Primary coil) | $80 – $450 | 0.5 – 2.0 Hours |
| Exhaust System | Meltdown/Clog of Catalytic Converter / Crush Pipe | Backpressure $> 1.25\text{ PSI}$ at $2,000\text{ RPM}$ | $750 – $2,800 | 1.5 – 4.0 Hours |
| Engine Sensors | Failed Throttle Position Sensor (TPS) / Accelerator Pedal Sensor | TPS sweep dropouts outside $0.5\text{V} – 4.5\text{V}$ range | $120 – $380 | 0.5 – 1.0 Hour |
| Variable Valve Timing (VVT) | Clogged VVT Solenoid Screen / Low Oil Pressure | Actuator phase delay $> 10$ crank degrees | $100 – $400 | 0.5 – 1.5 Hours |
| Drivetrain / Transmission | Slipping Torque Converter / Worn Clutch / Low ATF Level | Engine RPM spikes without acceleration match | $300 – $3,200 | 2.0 – 8.0 Hours |
Repair Trade-offs & Economic Decisions
1. Air & Fuel Delivery Repairs
- Pros: Low-cost DIY friendly repairs; restoring clean airflow and correct fuel pressure immediately restores sharp throttle response and optimizes fuel economy.
- Cons: Ignoring a dirty fuel filter or weak fuel pump causes the engine to run lean ($P0171$), which elevates combustion chamber temperatures and causes premature spark plug detonation or burnt exhaust valves.
- Trade-off Decision: Cleaning a MAF sensor costs under $15 for a canister of spray and takes 10 minutes. If cleaning fails to clear erratic voltage sweeps, purchase an OEM replacement sensor; cheap knockoff aftermarket sensors frequently send incorrect voltage curves to the ECU, causing shifting anomalies and lean codes.
2. Ignition System Overhauls
- Pros: Eliminates severe engine shaking during load, protects the catalytic converter from raw fuel washing, and restores smooth engine idling.
- Cons: Replacing individual failed ignition coils on high-mileage engines often leads to “cascade failures,” where remaining aged coils fail weeks apart, duplicating labor efforts.
- Trade-off Decision: When an engine passes $100,000\text{ miles}$, replace all spark plugs and ignition coils as a complete set. On V6 and V8 engines where intake manifolds must be removed to access rear banks (e.g., transverse engines), changing all components in a single session saves hundreds of dollars in redundant labor charges.
3. Catalytic Converter Replacements
- Pros: Fully restores lost top-end highway acceleration, eliminates dangerous engine thermal buildup, and ensures compliance with tailpipe emissions testing.
- Cons: Significant financial cost due to precious metals inside the substrate (Platinum, Palladium, Rhodium); installation can require torch cutting and welding rusted pipe fittings.
- Trade-off Decision: Universal fit aftermarket converters are inexpensive ($200{-}$500) but often fail within 12–24 months due to lower precious metal loading. OEM or direct-fit high-grade aftermarket units cost significantly more ($800{-}$2,000) but last the remaining lifespan of the vehicle and satisfy stringent CARB/EPA emissions standard monitors.
5 Diagnostic Mistakes That Waste Time and Money
- Throwing Parts at the Problem (“Parts Cannon”): Replacing expensive sensors, fuel injectors, and throttle bodies based on guesswork without scanning for OBD-II codes or reading live stream sensor data.
- Replacing a Fuel Pump Without Checking the Tank or Filter: Installing a fresh fuel pump into a fuel tank contaminated with rust, dirt, or sediment—or leaving a saturated inline filter in place—causes the new replacement pump to overheat and fail within weeks.
- Misinterpreting Transmission Slip as Engine Power Loss: Swapping engine parts when the true failure is a slipping transmission clutch or low Automatic Transmission Fluid (ATF). Test: If the engine RPM rises quickly when pressing the accelerator, but the speedometer climbs slowly, the issue is inside the transmission or clutch assembly, not the engine.
- Ignoring Small Vacuum Leaks: Replacing expensive MAF sensors or fuel pumps when the lean condition ($P0171$) is caused by a cracked $5 plastic vacuum hose, PCV valve hose, or leaking intake manifold gasket drawing unmetered air into the cylinders.
- Installing Incorrect Spark Plug Types: Fitting traditional copper spark plugs into high-output, turbocharged, or modern distributorless engines designed exclusively for long-life Iridium or Platinum plugs. Copper plugs erode rapidly under high thermal stress, increasing electrode gap and overloading ignition coils.
Diagnostic Symptom Matrix
Use this breakdown to match your vehicle’s physical behavior directly to the root mechanical cause:
+------------------------------------------------------------------------------------+
|                         SYMPTOM-TO-CAUSE MATRIX                                    |
+------------------------------------------------------------------------------------+
|                                                                                    |
|  [RPM Rises + Speed Lags] ------------> Transmission Slip / Worn Clutch / Low ATF  |
|                                                                                    |
|  [Jerking / Sputtering under Load] ---> Ignition Misfire / Bad Coil / Fouled Plug  |
|                                                                                    |
|  [Engine Bogs Down at High Speed] ----> Clogged Exhaust / Catalytic Converter      |
|                                         or Low Fuel Pump Volume                    |
|                                                                                    |
|  [Hesitation off the Idle Stop] ------> Dirty MAF Sensor / Vacuum Leak             |
|                                                                                    |
+------------------------------------------------------------------------------------+
Driver Action Profiles
The DIY Beginner
- Recommended Action: Limit repairs to basic visual inspection, replacing the engine air filter, and cleaning the MAF sensor using dedicated spray solvent.
- When to Escalate: If basic cleaning and air filter replacement do not fix the acceleration lag, or if the Check Engine Light stays lit, move up to scanner diagnostic testing or consult a professional technician.
The Backyard Mechanic
- Recommended Action: Use a bidirectional scan tool or smartphone OBD-II dongle to analyze Short-Term Fuel Trims (STFT) and Long-Term Fuel Trims (LTFT). Perform fuel pressure testing at the Schrader valve, perform intake manifold vacuum tests, pull spark plugs to analyze ceramic gap conditions, and test ignition coil resistance.
- When to Escalate: If diagnosis points to internal engine timing belt/chain jumping, internal transmission slipping, or requires exhaust pipe cutting/welding for catalytic converter replacement.
The “Take It to the Shop” Driver
- Recommended Action: Seek immediate professional repair under any of these three critical conditions:
- The Check Engine Light is flashing continuously (indicates an active, severe engine misfire dumping raw fuel into the exhaust system).
- You smell a strong rotten egg/sulfur odor accompanied by intense heat radiating from beneath the floorboards (indicates a severely restricted, overheating catalytic converter).
- The engine enters “Limp Home Mode,” restricting maximum vehicle speed to under $30\text{ MPH}$.
Frequently Asked Questions
Why does my car struggle to accelerate only when going uphill?
Accelerating up an incline subjects the engine to maximum mechanical load, requiring peak torque and maximum fuel delivery. Uphill power loss is most commonly caused by a weak fuel pump that cannot sustain volume under high demand, a clogged fuel filter, or an ignition coil that suffers secondary high-voltage breakdown under heavy engine load.
Can a bad battery or alternator cause poor acceleration?
Yes. Modern vehicles rely on stable electrical voltage to power fuel injectors, drive-by-wire throttle actuators, and high-energy ignition coils. If the alternator delivers less than $13.5\text{ volts}$ while running, or if a battery has internal cell resistance, the ECU may experience processing lags, and ignition coils will deliver weaker spark intensity, causing engine hesitation.
Why does my car hesitate to accelerate, but there is no Check Engine Light?
Not all fuel and mechanical faults immediately trigger a diagnostic code. Mechanical fuel pressure drops, early-stage catalytic converter plugging, subtle intake vacuum leaks, or dirty MAF sensors often cause severe throttle response lag before exceeding the ECU’s programmed fault threshold parameters needed to illuminate the Check Engine Light.
How do I know if poor acceleration is caused by the transmission instead of the engine?
Watch your dashboard tachometer (RPM gauge) while pressing the accelerator pedal. If the engine RPM jumps upward rapidly but your vehicle’s road speed increases very slowly or lags behind, the transmission clutch is slipping, or the torque converter is failing to lock up. If the RPM fails to rise at all and the engine sputters, the fault lies within the engine system.
Can driving with poor acceleration damage my engine?
Yes. Driving continuously with poor acceleration caused by a lean air-fuel mixture ($P0171$) burns exhaust valves and causes piston detonation due to excessive internal heat. Conversely, driving with power loss caused by ignition misfires ($P0300$) dumps unburnt raw gasoline into the exhaust stream, which ignites inside the catalytic converter, causing the ceramic core to melt and destroy the exhaust system within a few miles.