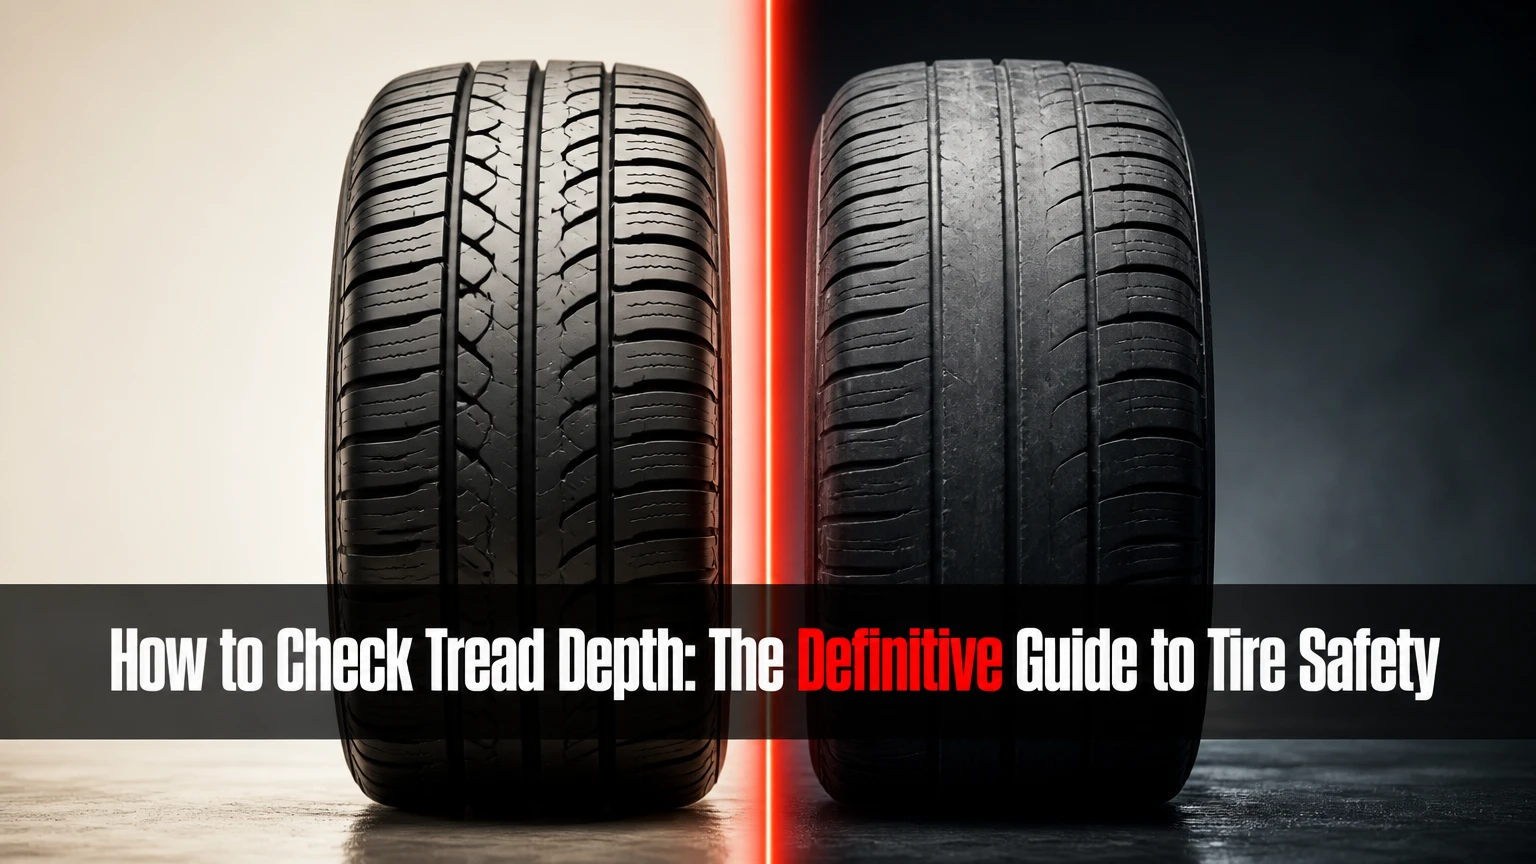
Checking tire tread depth is the manual measurement of the vertical distance from the top of a tire tread block down to the base of its deepest grooves, using tools like a tread depth gauge or a coin to determine road grip and replacement needs. Maintaining adequate tread is vital because tire grooves act as drainage channels that evacuate water from the contact patch, preventing hydroplaning and reducing braking distances on wet pavement. Drivers can easily measure their tires at home using standard household items or precision instruments, ensuring compliance with legal safety limits while safeguarding vehicle handling.
At a Glance: Key Tire Tread Facts
- Standard new passenger car tires start with a tread depth of 10/32 to 12/32 of an inch.
- The legal minimum tread depth across most jurisdictions in the United States and Europe is 2/32 of an inch.
- Wet weather stopping distance increases dramatically once tread depth drops below the 4/32-inch safety threshold.
- Built-in tread wear indicators, known as wear bars, sit flush across the grooves when the tire reaches the 2/32-inch limit.
- Using a calibrated manual or digital tread depth gauge provides the highest measurement accuracy outside of professional laser scanners.
Before You Start: Preparation and Tool Requirements
Checking tire tread depth requires proper vehicle positioning and the correct selection of measuring instruments to ensure accurate results. Park the vehicle on a level concrete surface, engage the parking brake firmly, and turn the steering wheel completely to one side to expose the front tires for inspection.
| Requirement | Specification | Purpose |
|---|---|---|
| Time Required | 5 to 10 minutes | Complete all four tire positions efficiently |
| Difficulty Level | Beginner | Accessible to all vehicle owners without mechanical experience |
| Tools Needed | Penny, quarter, manual pin gauge, or digital gauge | Measure groove depth and verify safety thresholds |
| Environment | Dry, well-lit area | Clear visibility of tread blocks and debris removal |
Step 1: Prepare the Vehicle and Clean the Grooves
Inspecting tire tread requires a clean surface free of embedded debris to prevent false depth readings. Park the vehicle securely, turn off the engine, and turn the steering wheel to full lock to gain unobstructed access to the tread face. Inspect the central circumferential grooves for trapped stones, glass fragments, or packed mud. Use a flathead screwdriver or a key to pry out any large debris wedged inside the grooves before taking measurements. Measuring over debris can artificially shorten the groove depth reading by several 32nds of an inch, leading to premature tire replacement decisions.
Step 2: Measure Using a Precision Depth Gauge
Using a dedicated tread depth gauge provides an exact numerical value in millimeters or 32nds of an inch to track tire wear accurately. Push the sliding metal pin of the manual gauge all the way out until the base is flush. Place the flat plastic or metal anchor base firmly against the top of the tire tread block, positioning the center pin directly inside the deepest main groove. Press down gently until the base rests flat on the rubber surface, then lift the gauge away by its base without disturbing the pin position. Read the measurement directly from the scale, ensuring the tool is held perfectly perpendicular to the tire surface to avoid angle distortion.
Step 3: Verify Wear Against Safety and Legal Thresholds
Interpreting the numerical reading or coin test result determines whether the tire remains safe for continued operation or requires immediate replacement. Compare the measured value against established industry safety benchmarks to guide your maintenance schedule. Tires measuring between 10/32 and 6/32 of an inch offer optimal wet and dry traction. When tread depth reaches 4/32 of an inch, wet weather braking performance begins to degrade significantly, making this the recommended replacement point for regions prone to heavy rain or snow. Reaching 2/32 of an inch means the tire has hit the absolute legal limit and must be replaced immediately to avoid citation and extreme hydroplaning risks.
Step 4: Inspect Alternative Indicators Like Wear Bars and Coins
When specialized gauges are unavailable, alternative indicators provide quick binary assessments of tire health. The penny test involves inserting a U.S. penny upside down into the central groove with Abraham Lincoln head pointing down. If the top of Lincoln head remains visible above the tread, the depth is below 2/32 of an inch, signaling urgent replacement. The quarter test uses a U.S. quarter in the same manner, where a visible Washington head indicates a depth below 4/32 of an inch. Additionally, inspect the built-in tread wear indicators located between the tread blocks, which appear as solid rubber bars running across the width of the groove when the legal limit is reached.
Common Measurement Mistakes and How to Avoid Them
Inaccurate tread measurements often stem from procedural errors rather than actual tire wear uniformity issues. Measuring only a single spot on a tire frequently hides localized bald patches caused by alignment or inflation faults. Avoid placing the gauge probe directly on top of a raised tread wear bar, as this artificially reduces the reading by 2/32 of an inch. Ensure the measurement tool is held completely perpendicular to the tire face, because tilting the probe extends the pin distance and produces falsely high depth numbers. Finally, always clean out small stones and packed dirt from the grooves before measurement to prevent erroneous shallow readings.
Troubleshooting Inconsistent Tire Wear Patterns
Varying tread depth measurements across the same tire point to specific mechanical or operational issues that require immediate correction. Recognizing these distinct wear patterns helps extend tire lifespan and restores vehicle handling stability.
| Wear Pattern | Affected Area | Root Cause | Corrective Action |
|---|---|---|---|
| Center Wear | Center tread blocks | Over-inflation | Reduce tire pressure to manufacturer recommended PSI |
| Edge Wear | Both outer shoulders | Under-inflation | Inflate tires to correct vehicle placard pressure |
| One-Sided Wear | Inner or outer edge | Wheel misalignment | Schedule professional front and rear wheel alignment |
| Cupping / Dipping | Isolated bald patches | Worn suspension / shocks | Replace damaged struts, shocks, or suspension components |
Tool Options: Comparison, Pros, Cons, and Costs
Selecting the right instrument depends on your maintenance habits, budget, and desired level of measurement precision.
| Tool Type | Accuracy Level | Average Cost | Time to Measure | Primary Advantages | Primary Disadvantages |
|---|---|---|---|---|---|
| Household Coins | Low / Qualitative | Free ($0.01 to $0.25) | Under 1 minute | No specialized purchase required; instant results | No exact numbers; unable to track progressive wear |
| Built-In Wear Bars | Low / Binary | Free (Molded-in) | Under 1 minute | Always available on modern tires; zero tools needed | Only warns you when tires are completely worn out |
| Manual Pin Gauge | High | $2 to $8 | 2 to 3 minutes | Highly accurate; durable construction; battery-free | Small numerical markings can be hard to read in low light |
| Digital Gauge | Very High | $7 to $15 | 2 to 3 minutes | Instant digital readouts; switches between mm and inches | Requires button cell batteries; sensitive to moisture |
| Laser Smart Scanner | Extreme | $50 to $300+ | Under 30 seconds | Maps entire tread surface; syncs with mobile apps | High cost; excessive for standard consumer maintenance |
Frequently Asked Questions
How often should I check my tire tread depth?
Drivers should inspect their tire tread depth at least once a month and before embarking on long road trips. Regular monthly checks catch uneven wear early, allowing for timely tire rotations that maximize overall tire longevity and maintain optimal wet weather traction across all driving seasons.
Can I drive with 4/32 inch tread depth in the winter?
Driving with 4/32 inch tread depth in winter conditions is strongly discouraged by safety experts. While 4/32 inches represents the safe threshold for rainy summer roads, winter tires require deeper grooves of 6/32 inches or more to pack snow and maintain grip on slippery, snow-covered surfaces.
Why do front and rear tires wear out at different rates?
Front tires typically wear out faster than rear tires because they handle steering loads, front-wheel drive power delivery, and a larger share of braking forces. Regular tire rotations every 5,000 to 7,500 miles ensure even wear distribution across all four positions and extend overall tread life.
What is hydroplaning and how does tread depth prevent it?
Hydroplaning occurs when a wedge of water builds up between the tire contact patch and the road surface, causing the vehicle to lose steering control. Deep tire grooves act as evacuation channels that pump water away from beneath the rubber, allowing the tire to maintain direct contact with the pavement.
How do I know if my tires need replacement if the tread looks fine?
Tires require replacement due to age and structural degradation even if the tread depth exceeds 2/32 of an inch. Rubber compounds dry out and form microscopic cracks over time, with most manufacturers and safety organizations recommending complete tire replacement after six to ten years regardless of remaining tread.