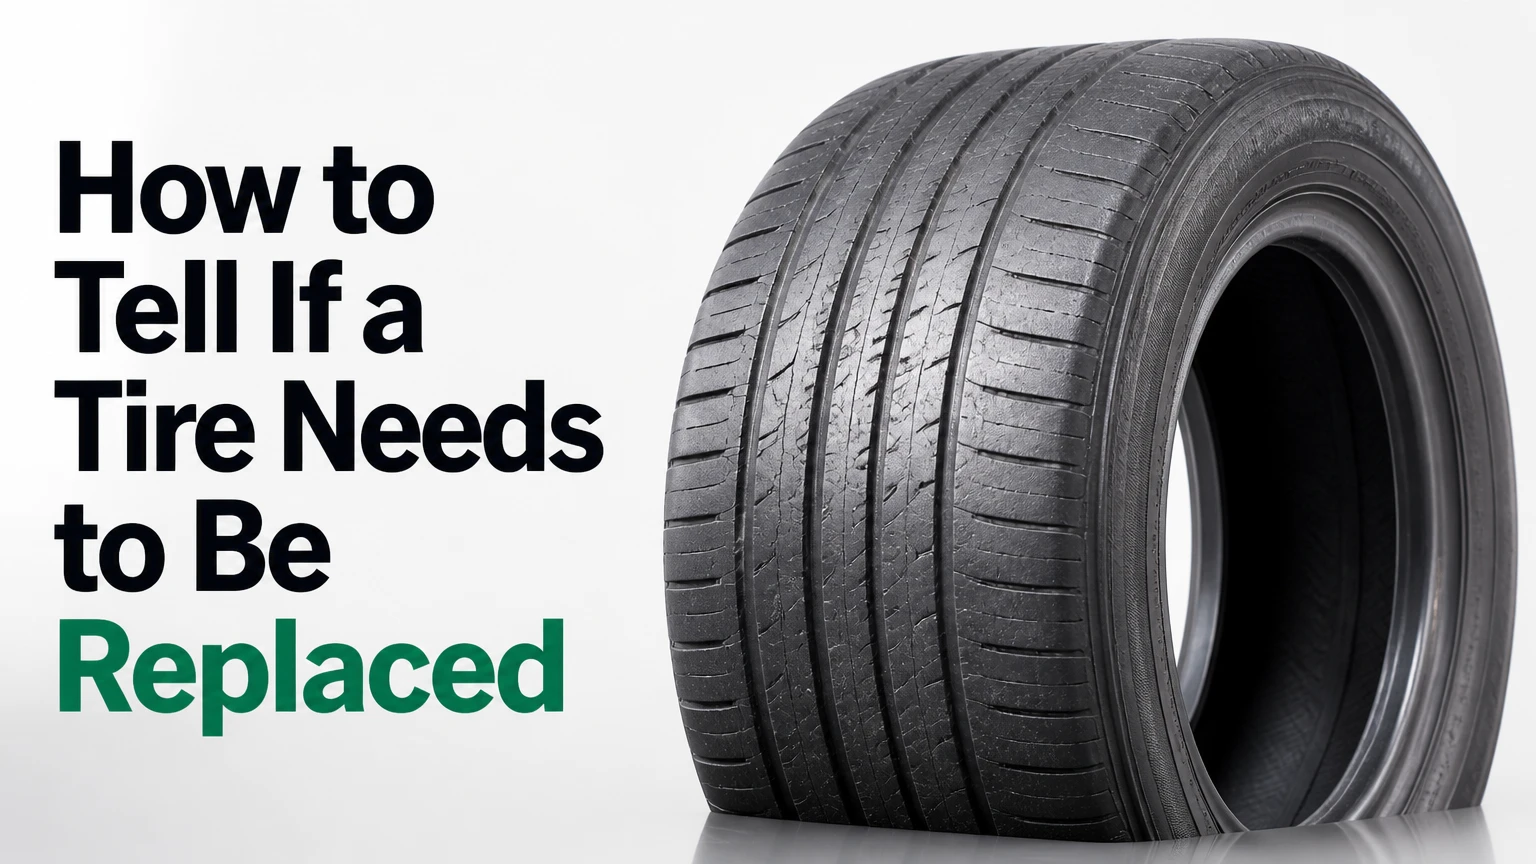
You can tell if a tire needs to be replaced by checking its tread depth, sidewall condition, age, inflation stability, wear pattern, and driving behavior. Replace the tire immediately if it has exposed cords, a bulge, deep cracking, sidewall damage, separated tread, or tread worn to 2/32 inch.
Key Facts at a Glance
- A tire at 2/32 inch of tread depth has reached the recognized minimum replacement point.
- Tires used frequently in rain should usually be considered for replacement near 4/32 inch.
- A sidewall bulge, exposed cord, or separating tread requires immediate replacement.
- A tread puncture no larger than 1/4 inch, or 6 mm, may be repairable only within the approved central tread area.
- The final four digits of the DOT code show the tire’s manufacturing week and year.
- Tires should receive closer professional inspection after about five years, even when tread remains.
When Does a Tire Need Immediate Replacement?
A tire needs immediate replacement when its structure can no longer contain air or carry the vehicle safely. Structural warning signs include a sidewall bulge, exposed steel or fabric cords, tread separation, a deep cut, extensive cracking, or damage caused by driving while flat.
Do not use the tire for normal driving while waiting for a convenient appointment. Install the spare, arrange roadside assistance, or have the vehicle transported.
Immediate tire replacement checklist
| Finding | Likely problem | Required action |
| Sidewall bubble or bulge | Broken internal cords | Stop driving and replace |
| Steel or fabric cords visible | Tread or sidewall worn through | Replace immediately |
| Tread lifting from casing | Belt or tread separation | Stop driving and replace |
| Deep sidewall cut | Structural ply damage | Replace, not repair |
| Tire repeatedly loses pressure after inflation | Leak, bead fault, valve fault, or casing damage | Inspect before further driving |
| Tire was driven flat | Hidden internal liner damage | Remove and inspect internally |
| Tread reaches 2/32 inch | Insufficient legal and functional tread | Replace |
| Large puncture over 1/4 inch | Damage exceeds normal repair limits | Replace |
NHTSA advises replacing tires when tread wears to 2/32 inch and recommends checking tread and pressure at least monthly.
How Do You Check Tire Tread Depth?
Measure tire tread at several positions across each tire, not only in the deepest-looking groove. The lowest valid reading determines the tire’s condition because one shoulder or inner edge may become unsafe before the visible center tread.
A dedicated tread-depth gauge provides the clearest result. Insert the probe into a main circumferential groove, press the gauge base flat against the tread, and measure the inner edge, center, and outer edge at three or more points around the tire.
Tread-depth decision table
| Tread depth | Typical condition | Recommended decision |
| 7/32 inch or more | Substantial tread remains | Continue routine inspection |
| 6/32 inch | Normal usable tread | Monitor wear and alignment |
| 5/32 inch | Reduced snow capability | Consider replacement before winter driving |
| 4/32 inch | Wet traction has declined | Plan replacement for frequent rain |
| 3/32 inch | Near the minimum | Replace soon |
| 2/32 inch | Wear bars are normally flush | Replace immediately |
| Below 2/32 inch | Tire is worn beyond the minimum | Do not continue normal use |
Bridgestone recommends at least 4/32 inch for wet-weather driving and about 5/32 inch for snow conditions, while NHTSA identifies 2/32 inch as the minimum replacement threshold.
How to use the penny test
Insert a U.S. penny upside down into the shallowest major tread groove, with Lincoln’s head pointed toward the tire. If the top of Lincoln’s head remains fully visible, the tread is approximately 2/32 inch or less.
The penny test is a screening method, not a complete inspection. It does not reveal age-related failure, sidewall damage, internal separation, or severe wear on the tire’s hidden inner shoulder.
How to use the quarter test
Insert a quarter with Washington’s head facing downward. If the tread does not reach the top of Washington’s head, the depth is below approximately 4/32 inch.
A 4/32-inch reading does not necessarily mean the tire is legally worn out. It does mean wet-weather safety margin has decreased, so drivers in rainy climates should begin replacement planning.
What do tread-wear indicator bars mean?
Tread-wear indicator bars are raised rubber bridges molded across the primary grooves. When the surrounding tread becomes level with those bars, the tire has reached approximately 2/32 inch and requires replacement.
Inspect every indicator around the circumference. One flush wear bar may reveal localized wear even when another section appears deeper.
What Tire Wear Patterns Mean
Uneven tire wear often means the tire is approaching replacement and the vehicle has an unresolved mechanical or inflation problem. Replacing the tire without correcting the cause can destroy the new tire in a relatively short distance.
| Wear pattern | Visual appearance | Common cause | Corrective action |
| Center wear | Center is shallower than both shoulders | Repeated overinflation | Correct pressure and assess replacement |
| Both-edge wear | Both shoulders are shallow | Chronic underinflation or overloading | Check pressure, load, and leaks |
| Inner-edge wear | Inside shoulder is nearly bald | Alignment, camber, or suspension fault | Align and inspect suspension |
| Outer-edge wear | Outside shoulder wears first | Alignment or aggressive cornering | Check alignment and driving conditions |
| Cupping | Alternating high and low patches | Worn dampers, imbalance, or looseness | Inspect shocks, struts, and balance |
| Feathering | Tread edges feel smooth one way and sharp the other | Incorrect toe alignment | Perform alignment |
| Flat spot | One isolated section is worn flat | Lockup, prolonged parking, or tire damage | Inspect for replacement |
| Patchy diagonal wear | Repeating angled wear zones | Rotation, alignment, or suspension problem | Diagnose before fitting new tires |
Check pressures against the vehicle placard, usually located on the driver’s door jamb. Do not use the maximum pressure printed on the tire sidewall as the normal target unless the vehicle manufacturer specifically requires it.
Do Cracks or Dry Rot Mean the Tire Is Unsafe?
Deep, widespread, or opening cracks can make a tire unsafe because they show that the rubber has lost flexibility and may no longer protect its internal structure. Fine superficial lines require evaluation, but cracks that expose cords, open during sidewall flexing, or extend deeply into tread grooves justify replacement.
Rubber changes through exposure to oxygen, ozone, heat, ultraviolet radiation, chemicals, and repeated flexing. A lightly used tire can therefore age even when its tread looks nearly new.
Michelin explains that shallow surface cracking may indicate aging without proving immediate failure, while deep or numerous cracks that open during flexing indicate advanced degradation.
Replace a cracked tire when:
- Cracks expose textile or steel reinforcement.
- Cracks are deep enough to catch a fingernail clearly.
- The sidewall has many branching fissures.
- Cracking surrounds a bulge or impact mark.
- The tire also loses air repeatedly.
- The tire is already near the manufacturer’s age limit.
Surface appearance alone cannot reveal the condition of the internal liner, belts, or body plies. A professional inspection is appropriate when the severity is uncertain.
What Does a Bulge or Bubble on a Tire Mean?
A tire bulge means internal reinforcing cords have likely broken or separated, allowing air pressure to push the outer rubber outward. The tire cannot be repaired safely because the load-carrying structure has already been compromised.
Bulges commonly appear after hitting a pothole, curb, road debris, or sharp pavement edge. They may form immediately or become visible later.
Do not press, puncture, or attempt to flatten the bubble. Reduce vehicle movement, avoid highway speed, and replace the tire.
Can Vibration Mean a Tire Needs Replacement?
Persistent vibration can indicate an out-of-balance assembly, bent wheel, irregular tread wear, internal belt separation, wheel-bearing damage, or suspension wear. A tire-related vibration often changes with road speed and may feel like a repeating thump through the seat, steering wheel, or floor.
A balancing service may correct a simple weight imbalance. Replacement becomes more likely when vibration continues after balancing, the tread appears wavy, the tire is out of round, or the vehicle began vibrating after a pothole impact.
Driving symptoms and likely causes
| Symptom | Possible tire-related cause | Other likely cause | Next check |
| Steering-wheel shake at 45-70 mph | Front tire imbalance or deformation | Bent front wheel | Balance and inspect |
| Seat or floor vibration | Rear tire imbalance or separated belt | Rear wheel fault | Road-force test |
| Rhythmic thump at low speed | Flat spot or casing deformation | Debris attached to wheel | Inspect full circumference |
| Pulling to one side | Uneven tread or tire conicity | Alignment or brake drag | Swap-test and align |
| Humming that changes with speed | Cupped tread | Wheel bearing | Inspect tread and bearing |
| Sudden harsh vibration | Tread separation or impact damage | Loose wheel hardware | Stop and inspect immediately |
Vibration should not be diagnosed by appearance alone. A tire can have internal damage without an obvious external bulge.
How Old Is Too Old for a Tire?
Tire age must be considered together with condition, usage, storage, climate, and vehicle-manufacturer guidance. There is no universal rule that every tire becomes unsafe on the same birthday, but many manufacturers call for closer inspection after five years and precautionary replacement by ten years from manufacture.
Michelin recommends annual professional inspection after five years of service and replacement by ten years from the manufacturing date, including tires that still show usable tread.
Some vehicle manufacturers set a shorter six-year limit. Follow the earliest applicable requirement in the vehicle manual or tire documentation.
How to read the DOT tire date code
Find the Tire Identification Number beginning with “DOT” on the sidewall. The complete number may appear on only one side of the tire.
The final four digits represent the manufacturing date:
- 2422 means the 24th week of 2022.
- 0525 means the fifth week of 2025.
- 3919 means the 39th week of 2019.
The first two digits identify the production week. The last two identify the year. Michelin confirms this four-digit format in its tire-marking guidance.
Step-by-Step: How to Tell If a Tire Needs Replacement
A complete tire inspection takes about 10-15 minutes for four tires. You need a tread-depth gauge, tire-pressure gauge, flashlight, and access to the vehicle’s recommended pressure specification.
Step 1: Park Safely and Let the Tires Cool
Park on level ground, engage the parking brake, and inspect the tires before a long drive or after they have cooled for several hours.
Cold pressure gives the most useful comparison with the door-jamb specification. Pressure rises naturally as tires heat during driving.
Success checkpoint: The vehicle is secure, and every visible tire surface is accessible.
Common mistake: Releasing air from a warm tire because its reading exceeds the cold specification.
Step 2: Measure Pressure
Remove each valve cap and record the pressure with a reliable gauge. Compare every reading with the vehicle placard.
A single low tire may have a puncture, valve leak, bead leak, or wheel problem. All four tires reading low may reflect temperature change or neglected maintenance.
Success checkpoint: Every tire is adjusted to the vehicle manufacturer’s cold-pressure target.
Common mistake: Inflating to the sidewall’s maximum pressure instead of the placard value.
Step 3: Measure Tread Across the Tire
Measure the inner, center, and outer main grooves. Repeat the process at several points around the circumference.
Record the lowest measurement. A tire with 6/32 inch in the center but 1/32 inch at the inner shoulder needs replacement.
Success checkpoint: You have at least nine readings per tire.
Common mistake: Measuring only the easiest visible center groove.
Step 4: Inspect the Sidewalls
Use a flashlight to look for cuts, abrasions, cracks, bubbles, exposed cords, impact marks, and objects penetrating the rubber.
Inspect both the outward-facing sidewall and the inner sidewall. Turn the steering wheel to improve access to front tires, but keep clear of traffic and moving components.
Success checkpoint: No structural defects are visible on either sidewall.
Common mistake: Assuming the hidden inner sidewall matches the clean outer surface.
Step 5: Scan the Entire Tread
Move the vehicle slightly when necessary so the contact patch becomes visible. Look for nails, screws, stones, missing rubber, splits, lifted tread blocks, and irregular wear.
Run a gloved hand lightly across the tread to feel feathering, cupping, or raised sections.
Success checkpoint: The full circumference has been checked.
Common mistake: Removing an embedded nail before the repair shop can locate and assess the puncture.
Step 6: Check the DOT Date
Record the final four DOT digits and calculate the manufacturing date. Compare the age with vehicle and tire-manufacturer guidance.
Treat age as one part of the decision. Heat exposure, outdoor storage, underinflation, and long periods of inactivity can accelerate degradation.
Success checkpoint: The age of every road tire and spare tire is known.
Common mistake: Checking only the tires currently touching the road.
Step 7: Choose Keep, Repair, or Replace
Keep the tire only when tread, structure, age, pressure retention, and wear pattern remain acceptable.
Repair a puncture only after the tire has been removed and inspected internally. Replace the tire when damage falls outside recognized repair limits or its overall condition is unsafe.
Success checkpoint: The decision accounts for every inspection category, not tread alone.
Can a Punctured Tire Be Repaired?
A punctured tire may be repairable when the injury is no larger than 1/4 inch, lies within the repairable central tread area, and has not caused internal damage. Sidewall and shoulder punctures require replacement.
USTMA states that a proper repair requires removing the tire from the wheel, inspecting it internally, filling the injury with a rubber stem, and sealing the inner liner with a patch. In USTMA’s words, “A plug alone is an unacceptable repair.”
| Damage condition | Repairable? | Reason |
| Small nail hole in central tread | Often yes | Within normal repair area |
| Puncture over 1/4 inch | No | Injury exceeds repair limit |
| Sidewall puncture | No | Sidewall flex prevents a durable structural repair |
| Shoulder puncture | No | Damage approaches belt-edge area |
| Overlapping previous repairs | No | Insufficient intact repair area |
| Tire driven while flat | Possibly not | Hidden liner and cord damage may exist |
| Tread separation | No | Structural failure has begun |
| External rope plug only | Not a complete permanent repair | Internal inspection and liner seal are missing |
Emergency sealant or a temporary plug may help move the vehicle to safety when the product and vehicle manufacturer permit it. It should not automatically be treated as a permanent repair.
Should You Replace One Tire, Two Tires, or All Four?
Replacing one tire may be acceptable on some two-wheel-drive vehicles when the remaining tires are nearly new and the replacement matches their size, construction, load rating, speed rating, and tread design. Large tread-depth differences can alter handling and drivetrain operation.
For many vehicles, replacing tires in axle pairs provides more consistent traction. When only two tires are replaced, major tire manufacturers commonly recommend installing the new pair on the rear axle to reduce the risk of rear-end loss of traction on wet roads.
AWD and some 4WD vehicles may require all four tires to remain within a narrow rolling-circumference or tread-depth tolerance. Check the owner’s manual because a mismatched tire can cause the drivetrain to compensate continuously.
Replacement quantity guide
| Vehicle situation | Likely replacement approach | Important condition |
| One damaged tire, others nearly new | One matching tire may work | Tread-depth difference must meet manufacturer tolerance |
| Two worn tires on one axle | Replace as a pair | Install the better or newer pair according to manufacturer guidance |
| Four tires near 3/32-4/32 inch | Replace all four | Restores consistent wet traction |
| Sensitive AWD system | Often four tires | Verify allowable circumference difference |
| One tire with unusual wear | Replace tire and fix root cause | Alignment or suspension diagnosis is required |
| Different tire types already installed | Consider a matched set | Mixing may affect braking and stability |
Tire shaving is sometimes used to match a replacement tire’s tread depth to an AWD set. Availability is limited, and the practice removes usable tread from a new tire, so it should be evaluated against the cost and condition of replacing the complete set.
Common Tire-Inspection Mistakes
Judging a tire only by mileage
Tires do not expire at a fixed mileage. Driving style, road texture, inflation, alignment, load, rotation, compound, climate, and vehicle design all affect tread life.
Assuming deep tread means the tire is safe
A tire can retain deep tread while developing age cracks, internal separation, bead damage, or impact-related cord failure.
Ignoring the inner shoulder
Alignment-related wear often appears on the inside edge, where it cannot be seen from a normal standing position.
Treating the TPMS light as the inspection
A tire-pressure monitoring system warns about pressure. It does not measure tread depth, detect all slow leaks, identify sidewall damage, or assess tire age.
Repairing every nail hole
Location and internal condition matter more than the mere presence of a nail. Shoulder and sidewall injuries are not normal candidates for permanent repair.
Replacing the tire without correcting the cause
A new tire will wear prematurely when low pressure, wheel misalignment, worn suspension components, overloading, or a bent wheel remains unresolved.
Expert Rules of Thumb
The lowest tread reading controls the decision. Averaging a safe center reading with a bald inner shoulder hides the dangerous part of the tire.
A bulge is a structural failure, not a cosmetic flaw. No tread depth, brand reputation, or low mileage offsets broken internal cords.
Recurring pressure loss deserves diagnosis. Temperature changes affect all tires predictably, while one tire repeatedly dropping several PSI usually has a leak or sealing problem.
A new tire does not repair an alignment fault. When one edge is worn, diagnose camber, toe, suspension play, and wheel condition before fitting the replacement.
Tire Replacement Priorities by Driving Situation
| Driver profile | Replacement priority | Practical threshold |
| Heavy-rain commuter | Water evacuation and wet braking | Consider replacement near 4/32 inch |
| Snow and ice driver | Deep tread and cold-flexible compound | Consider replacement near 5/32 inch |
| High-mile highway driver | Heat control, inflation, even wear | Inspect pressure frequently and tread monthly |
| Low-mileage second vehicle | Age, cracking, and flat spotting | Check DOT age and storage damage |
| Performance driver | Shoulder wear and heat cycling | Inspect after track or aggressive use |
| Tow vehicle or loaded SUV | Load rating, pressure, heat, casing condition | Follow load-specific placard guidance |
| AWD vehicle | Matching circumference | Follow exact owner-manual tolerance |
Limitations of a Home Tire Inspection
A home inspection cannot reliably reveal every damaged belt, broken cord, compromised inner liner, bead defect, or separation hidden within the casing. Visual checks and tread measurements are useful screening tools, but they do not replace tire removal, internal inspection, road-force measurement, or professional diagnosis when symptoms persist.
Seek professional inspection after a severe pothole strike, curb impact, extended underinflated driving, repeated air loss, unexplained vibration, or any period of driving on a flat tire.
The Bottom Line
Knowing how to tell if a tire needs to be replaced requires more than checking whether the tread looks low. Measure tread across the full width, inspect both sidewalls, decode the DOT age, monitor pressure loss, assess wear patterns, and treat bulges, exposed cords, tread separation, and sidewall damage as immediate replacement conditions.
Replace tires at 2/32 inch, and consider earlier replacement around 4/32 inch when wet-road performance is important. When damage might be repairable, require tire removal, internal inspection, and a proper plug-patch repair within the approved tread area.
Frequently Asked Questions
How many miles do tires normally last?
Many passenger tires last roughly 30,000-70,000 miles, but mileage alone cannot determine safety. Compound, alignment, inflation, rotation, vehicle weight, road surface, heat, and driving style create wide variation. Inspect the actual tread, structure, age, and pressure history rather than relying only on the odometer.
Is a tire safe if it has good tread but is eight years old?
Good tread does not prove that an eight-year-old tire is safe. Aging can reduce rubber flexibility and affect internal materials. Have older tires inspected professionally and follow the vehicle and tire manufacturers’ age limits. Some manufacturers permit service up to ten years, while some vehicles specify earlier replacement.
Can I drive a short distance with a tire bubble?
Normal driving on a tire with a bubble is not recommended. A bubble indicates damaged internal reinforcement, and the weakened area can fail without predictable warning. Install a suitable spare or arrange roadside assistance rather than driving to a shop at normal road speed.
Why does one tire keep losing air?
Recurring pressure loss may come from a tread puncture, leaking valve core, damaged valve stem, corroded wheel bead seat, bent rim, poor previous repair, or casing damage. Have the tire and wheel leak-tested. Repeatedly adding air treats the symptom but does not identify the failure.
Do all four tires need the same tread depth?
All four tires should be reasonably compatible, but exact tolerance depends on the drivetrain and manufacturer. AWD vehicles can be particularly sensitive to circumference differences. Check the owner’s manual before replacing only one tire, and match size, construction, ratings, and type.
Should the best tires go on the front or rear?
When replacing only two tires, the newer or deeper-tread pair is commonly installed on the rear axle to improve rear stability in wet conditions. Follow the tire manufacturer and vehicle manufacturer’s instructions because rotation patterns, staggered fitments, and directional tires may impose additional restrictions.