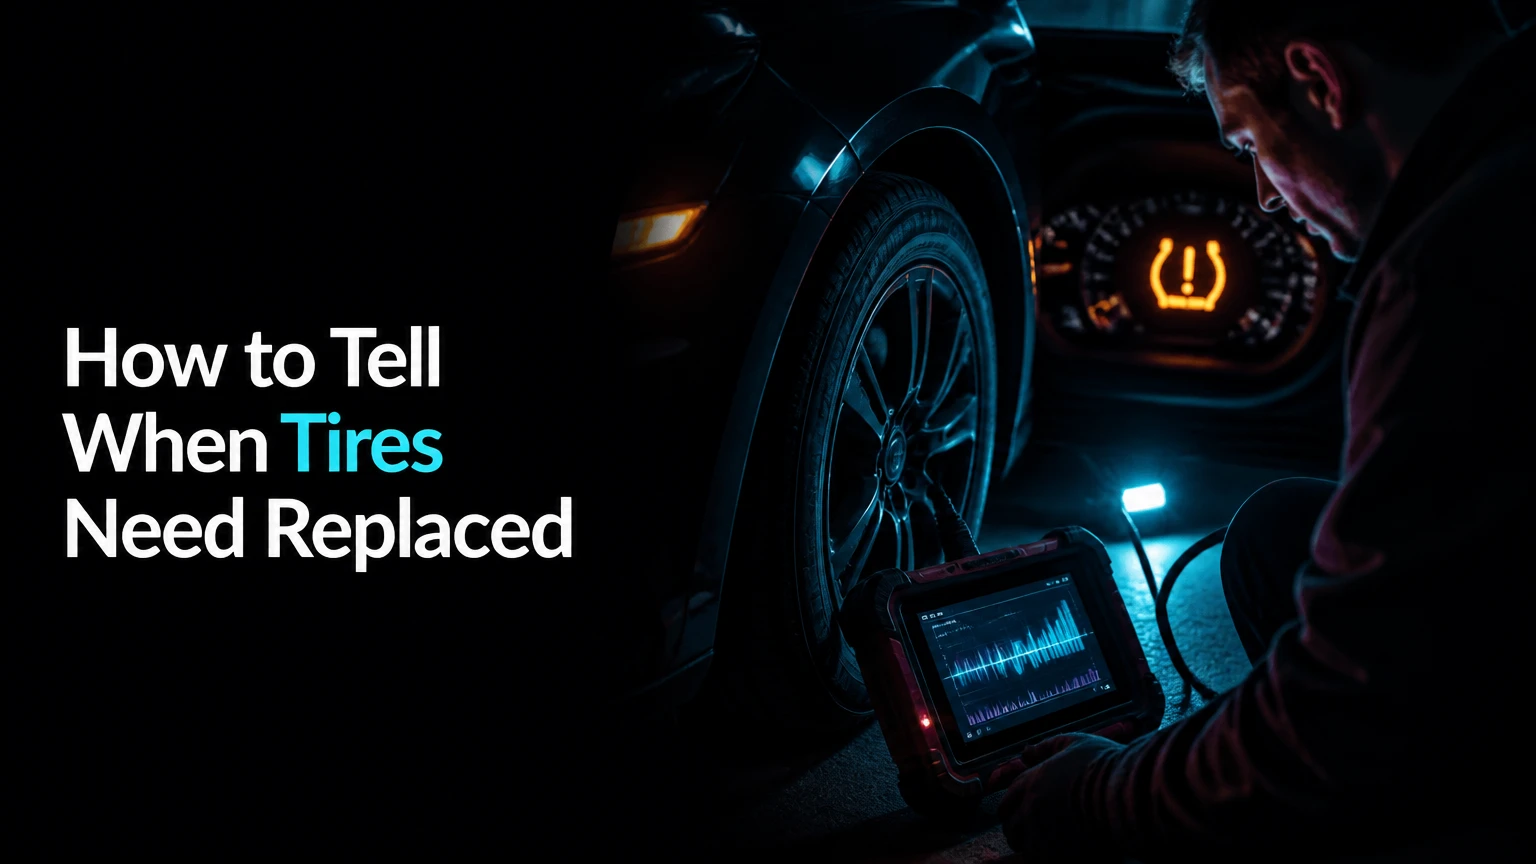
To tell when tires need replaced, check tread depth, wear bars, tire age, sidewall condition, air-pressure stability, and changes in how the vehicle drives. Replace a tire immediately if the tread reaches 2/32 inch, cords are visible, a sidewall bulges, the tread separates, or the tire has damage that cannot be safely repaired.
Key Facts at a Glance
- A tire at 2/32 inch of tread has reached the standard replacement threshold.
- Tread should be measured at several points because one worn section can make the entire tire unsafe.
- A sidewall bulge usually indicates damaged internal cords and requires replacement.
- Tire age cannot be judged reliably from appearance alone.
- Tires should receive annual professional inspections after five years of service.
- Many tire manufacturers recommend replacement by ten years from manufacture, even when tread remains.
Before You Inspect Your Tires
A complete tire inspection takes about 10-15 minutes and requires no mechanical experience. A tread-depth gauge gives the most useful measurement, but a penny can identify tread that has reached approximately 2/32 inch.
| Inspection detail | Recommended value |
| Inspection time | 10-15 minutes |
| Difficulty | Beginner |
| Basic tools | Tread-depth gauge, pressure gauge, flashlight |
| Optional substitute | U.S. penny for a basic tread check |
| Tire condition | Parked, cool, and safely accessible |
| Inspection frequency | At least monthly and before long trips |
Park on level ground, set the parking brake, and turn the steering wheel to expose the front tire surfaces. Use a flashlight to examine the inner shoulders because severe alignment wear often develops there before it becomes visible from the outside.
Check tire pressure only when the tires are cold, meaning the vehicle has been parked for at least three hours or driven less than about one mile. NHTSA recommends checking pressure monthly and using the value on the driver-side door placard or owner’s manual, not the maximum pressure printed on the tire.
Step 1: Measure Tread Depth in Several Places
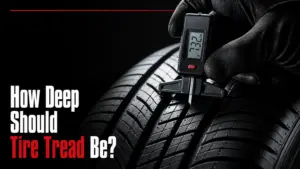
Measure every main tread groove at the inner edge, center, and outer edge of each tire. The lowest reading determines the tire’s usable condition because a tire with 5/32 inch in the center and 1/32 inch on the inner shoulder is already worn out.
Push a tread-depth gauge straight into a main circumferential groove. Do not place the gauge on a raised wear bar, stone, or damaged tread block. Repeat the measurement at three or four positions around the tire to detect flat spots, localized wear, or alignment damage.
Tire Tread Depth Guide
| Tread depth | Tire condition | Recommended action | Typical concern |
| 8/32-11/32 inch | Common new-tire range | Continue routine inspections | Normal use |
| 6/32 inch | Moderate remaining tread | Monitor wear and alignment | Reduced snow depth |
| 4/32 inch | Replacement-planning range | Begin shopping, especially for rainy driving | Wet braking and water evacuation |
| 3/32 inch | Near the minimum | Replace soon | Limited wet-weather margin |
| 2/32 inch | Worn-out threshold | Replace immediately | Loss of wet traction |
| Below 2/32 inch | Unsafe wear | Do not continue normal driving | Hydroplaning and loss of control |
NHTSA states that tires “are not safe and should be replaced” when tread reaches 2/32 inch. Federal tire standards also require treadwear indicators at that depth, although individual states control their own in-use inspection laws.
The 2/32-inch figure is a minimum replacement point, not a promise of strong wet-weather performance. Drivers who regularly face heavy rain should plan replacement earlier, often around 4/32 inch, because shallow grooves move less water from beneath the tire.
Success checkpoint: The tire can remain in service only if every measured area remains above the applicable limit and no structural damage is present.
Common mistake: Measuring only the center groove can miss dangerous inner-edge wear caused by excessive negative camber or incorrect toe alignment.
Step 2: Check the Tread-Wear Bars
Tread-wear bars are narrow raised bridges molded across the main tread grooves. Replace the tire when the surrounding tread becomes level with any wear bar because that location has reached approximately 2/32 inch.
Run a finger through the main grooves or use a flashlight to locate the bars. Most tires have small triangular marks or “TWI” markings on the shoulder that indicate where the bars cross the tread.
Check every bar around the tire. A single flush wear bar may reveal localized wear even when other parts of the tread appear deeper.
USTMA confirms that wear bars become level with the tread at 2/32 inch and recommends checking for uneven, unusually smooth, high, or low areas during monthly inspections.
Success checkpoint: Every wear bar remains visibly below the adjacent tread blocks.
Common mistake: Drivers sometimes confuse stone-ejector ridges or other molded features with legal tread indicators. A depth gauge resolves uncertainty.
Step 3: Perform the Penny Test
Insert a penny into a main groove with Abraham Lincoln’s head upside down and facing you. Replace the tire if the top of Lincoln’s head remains completely visible because the tread is approximately 2/32 inch or lower.
Test multiple grooves across the width and at several positions around the tire. The penny test is a screening method, not a substitute for a gauge when wear is uneven or close to the limit.
NHTSA and major tire-industry guidance recognize the penny test as a simple way to identify worn tread. A dedicated gauge remains better because it provides an actual measurement and can reveal differences as small as 1/32 inch.
Success checkpoint: Part of Lincoln’s head is covered at every tested location.
Common mistake: Passing the penny test in one deep groove does not cancel a failing result on another part of the tire.
Step 4: Inspect the Sidewalls and Tread
Replace a tire immediately if it has a sidewall bulge, visible cords, exposed belt material, tread separation, or a cut deep enough to reach the internal structure. These defects can weaken the tire even when pressure and tread depth appear normal.
Inspect both outer and inner sidewalls. Look for bubbles, splits, cuts, abrasions, missing rubber, embedded objects, distorted areas, and cracking that extends into the casing.
Tire Damage Decision Table
| Visible condition | Likely meaning | Repairable? | Required response |
| Sidewall bulge | Broken internal cords after impact | No | Replace immediately |
| Exposed fabric or steel cords | Casing or belt damage | No | Stop normal use |
| Sidewall puncture | Flex-zone structural damage | No | Replace tire |
| Shoulder puncture | Damage outside repairable tread area | Usually no | Replace after inspection |
| Small tread puncture | Nail or screw in repairable zone | Possibly | Professional internal inspection |
| Tread separation | Belt or casing failure | No | Stop driving |
| Fine surface checking | Environmental aging | Inspection required | Judge depth and age |
| Deep spreading cracks | Advanced rubber degradation | No | Replace tire |
A bulge commonly follows a pothole or curb impact. The air pressure pushes against a section where internal reinforcing cords have failed, producing a blister-like shape. Do not deflate, puncture, or press on the bulge.
A tire may also suffer hidden impact damage without developing an immediate bubble. Michelin advises professional inspection after a hard pothole or curb strike because internal belt or carcass damage may not be visible until the tire is removed from the wheel.
Success checkpoint: The sidewall and tread remain uniformly shaped, with no exposed reinforcement or expanding damage.
Common mistake: Cosmetic scuffing and structural cuts are not the same. When the depth is uncertain, a trained technician must inspect the tire.
Step 5: Read the Tire’s DOT Date Code
The last four digits of the complete DOT Tire Identification Number show the tire’s manufacture date. The first two digits identify the production week, and the final two identify the year.
For example:
| DOT date code | Manufacture date | Approximate age in August 2026 |
| 1426 | Week 14 of 2026 | About 4 months |
| 3523 | Week 35 of 2023 | About 3 years |
| 1821 | Week 18 of 2021 | About 5 years |
| 4018 | Week 40 of 2018 | Nearly 8 years |
| 2516 | Week 25 of 2016 | More than 10 years |
The complete date code may appear on only one sidewall. Check the inward-facing side if the outward-facing DOT sequence does not end with four date digits.
How Old Is Too Old for a Tire?
Tires should receive closer professional inspection after five years and should generally be replaced by ten years from manufacture as a precaution, subject to the vehicle and tire manufacturers’ instructions. Six years is not a universal automatic expiration date for every tire.
NHTSA explains that some manufacturers recommend replacement within six to ten years, regardless of treadwear. Michelin recommends at least annual professional inspection after five years of service and precautionary replacement ten years after manufacture, even when the tire appears usable.
Heat, sunlight, storage, load, inflation history, speed, and climate change the rate of aging. A low-mileage vehicle can therefore need tires sooner by age than by tread wear. Spare tires also age and must be checked.
Success checkpoint: The date is within the applicable manufacturer limit and the tire passes its physical and performance inspection.
Common mistake: Assuming unused warehouse tires or full-tread spare tires are automatically new.
Step 6: Identify Uneven Wear Patterns
Uneven wear can make a tire unsafe before its average tread reaches 2/32 inch. Replace the tire when any section reaches the minimum, then correct the mechanical or inflation problem before the replacement tire develops the same pattern.
| Wear pattern | What it looks like | Common cause | Next action |
| Center wear | Center is shallower than both shoulders | Repeated overinflation or application factors | Verify placard pressure |
| Both-edge wear | Both shoulders are worn | Underinflation or overloading | Check pressure and load |
| One-edge wear | Inner or outer edge is worn | Camber or toe misalignment | Alignment and suspension check |
| Cupping | Alternating high and low patches | Worn suspension or imbalance | Inspect shocks, struts, and balance |
| Feathering | Tread ribs feel smooth one way, sharp the other | Incorrect toe setting | Alignment correction |
| Flat spot | One localized worn section | Locked wheel, storage, or braking event | Inspect tire and braking system |
| Patchy wear | Irregular areas around circumference | Balance, rotation, or suspension problem | Full chassis inspection |
Wear patterns identify a cause, but they do not restore lost rubber. An alignment may stop additional edge wear, yet a section already below the limit still requires tire replacement.
Rotation can slow unequal wear when performed before serious damage develops. USTMA recommends following the owner’s manual or rotating approximately every 5,000-8,000 miles when no interval is specified.
Step 7: Watch for Changes While Driving
New vibration, rhythmic thumping, pulling, pressure loss, or handling instability can indicate tire damage that is not obvious during a driveway inspection. Reduce speed and arrange an inspection when the symptom begins suddenly, especially after an impact.
Driving Symptoms That Require Attention
| Symptom | Possible tire-related cause | Other possible cause | Urgency |
| Vibration at one speed range | Imbalance or irregular tread | Bent wheel or driveline issue | Inspect soon |
| Sudden vibration after impact | Internal belt damage | Bent wheel or suspension damage | Urgent |
| Rhythmic thumping | Tread deformation or separation | Severe flat spot | Stop and inspect |
| Pulling to one side | Pressure difference or uneven wear | Alignment or brake drag | Check promptly |
| Repeated pressure loss | Puncture, bead leak, or valve leak | Temperature change | Leak test required |
| Humming that changes with speed | Cupped or irregular tread | Wheel bearing | Professional diagnosis |
| Wandering in rain | Low tread or incorrect pressure | Alignment problem | Replace or correct before wet travel |
Tire Pressure Monitoring Systems do not replace manual checks. USTMA notes that many TPMS warnings activate only after pressure has fallen about 25 percent below the recommended level, which may be too late to prevent tire damage.
Do not assume every vibration means the tire must be replaced. Wheel imbalance, bent rims, wheel bearings, brakes, and suspension parts can create similar symptoms. The limitation matters because replacement without diagnosis may leave the original problem unchanged.
Step 8: Decide Whether Repair Is Safe
A tire may be repairable when the damage is a small puncture confined to the central tread area, the remaining tread is above 2/32 inch, and the tire has not been driven while severely underinflated. A technician must remove the tire from the wheel to inspect its interior.
A proper repair generally seals both the inner liner and the puncture channel. An external plug alone cannot reveal hidden liner damage, broken cords, rubber dust, or heat damage inside the tire.
Sidewall and shoulder punctures should not be repaired because those areas flex heavily during driving. Tires with bulges, exposed cords, run-flat damage beyond their operating limit, advanced cracking, or tread separation must also be replaced.
Michelin states that tread-area punctures up to approximately one-quarter inch may often be repaired by a trained technician, while sidewall and shoulder damage require replacement.
Should You Replace One, Two, or Four Tires?
Replace at least two tires when the matching tire on the same axle has substantially different tread depth, construction, size, or performance characteristics. Install the pair with deeper tread on the rear axle unless the vehicle manufacturer specifies another arrangement.
Greater rear tread depth improves stability because rear-tire hydroplaning or traction loss can cause sudden oversteer. A front-wheel-drive vehicle does not automatically require the newest tires on the front.
All-wheel-drive vehicles may require all four tires to remain within a narrow circumference or tread-depth difference. Excessive variation can affect torque distribution, traction-control operation, or driveline components. Follow the owner’s manual because acceptable differences vary by manufacturer.
Replacing one tire may be reasonable when the other tires are nearly new and the replacement can be matched closely. Some tire shops can shave a new tire to match existing tread depth, although vehicle and tire-manufacturer requirements still apply.
How Much Does Tire Replacement Cost?
A typical passenger tire can cost roughly $100-$350 before installation, while large truck, specialty, run-flat, or high-performance sizes may cost more. Exact pricing depends on tire dimensions, load and speed rating, brand, performance category, warranty, local labor, and required services.
An installed invoice may include:
- Tire price
- Mounting and computer balancing
- New valve stems or TPMS service kits
- Disposal or recycling fees
- Sales tax
- Alignment, when needed
- Road-hazard coverage, when selected
Mileage warranties do not predict exact tire life. Inflation, alignment, rotation, climate, driving style, road surfaces, and vehicle weight can cause the same tire model to last very different distances on two vehicles.
Common Tire-Inspection Mistakes
Checking Only the Outside Edge
The inner shoulder often wears fastest when alignment is incorrect. Turn the front wheels and use a light, then inspect the rear tires from behind or request a lift inspection.
Using the Tire-Sidewall Pressure
The sidewall lists a tire-related maximum value, not the vehicle manufacturer’s normal cold-pressure target. Use the driver-door placard or owner’s manual.
Trusting Tread Depth Alone
A tire can have deep tread and still fail because of age, impact damage, cracking, contamination, or internal separation. NHTSA notes that aging cannot be detected simply by looking at a tire.
Continuing to Drive on a Bulge
A sidewall bubble is not a cosmetic problem. Avoid highway driving and have the tire replaced because the supporting structure has already been compromised.
Ignoring the Spare Tire
Full-size and temporary spare tires lose pressure and age while stored. Check the spare monthly and read its date code before relying on it during an emergency.
When Should You Stop Driving Immediately?
Stop normal driving when a tire has a sidewall bulge, visible cords, separating tread, severe air loss, a large cut, or violent new vibration. Move to a safe location without abrupt steering or braking and arrange roadside assistance when continued travel could cause failure.
A tire that repeatedly loses pressure should also be inspected before a long or high-speed trip. Driving on low pressure generates heat through excessive sidewall flexing and may destroy the internal structure even when the puncture itself was originally repairable.
Frequently Asked Questions
Can tires need replacement even with good tread?
Yes. Tires with good tread may still need replacement because of age, sidewall damage, internal impact damage, cracking, chemical contamination, or repeated underinflation. Rubber and structural components change through heat, oxygen, sunlight, and use, so tread depth is only one part of a complete tire assessment.
How often should tires be inspected?
Inspect tread, pressure, and visible condition at least once a month. Repeat the inspection before long trips, after hitting a pothole or curb, after a TPMS warning, and whenever new vibration or handling changes appear. Tires more than five years old should receive closer annual professional inspection.
Is the penny test accurate enough?
The penny test can identify tread near the 2/32-inch replacement threshold, but it cannot provide a precise measurement or evaluate tire structure. A tread-depth gauge is more reliable because it measures several grooves numerically and exposes differences between the center, inner shoulder, outer shoulder, and circumference.
Does low tire pressure mean the tire needs replacement?
Not automatically. Low pressure may result from temperature change, a puncture, valve leakage, bead leakage, or an improperly set pressure. Replacement becomes necessary when the tire has nonrepairable damage or has been driven underinflated long enough to damage its inner liner, sidewall, cords, or casing.
Should tires be replaced before a long road trip?
Replace tires before a trip when tread is near the minimum, damage is present, age exceeds manufacturer guidance, or pressure cannot be maintained. A tire that is marginal during local low-speed driving faces greater heat accumulation and sustained loading during hours of highway travel.
Can an alignment fix unevenly worn tires?
An alignment can correct the geometry causing future wear, but it cannot replace rubber already worn away. If any groove or shoulder has reached the minimum tread depth, the tire must be replaced even after the vehicle has been aligned.
The Bottom Line
Learning how to tell when tires need replaced requires more than checking mileage or looking at the outer tread. Measure each tire across its full width, inspect the wear bars and sidewalls, read the DOT date code, monitor pressure, and investigate new vibration or handling changes.
Replace a tire immediately at 2/32 inch of tread or when structural damage appears. Begin planning earlier when tread approaches 4/32 inch, particularly for frequent rain, and arrange annual professional inspections after five years. When one reading, defect, or symptom conflicts with an otherwise healthy appearance, use the least safe finding as the final decision.